Conclusion
Guitar finish buffing is a skill that requires patience, practice, and attention to detail. By understanding the principles and techniques outlined in this guide, you can achieve a professional-grade finish that enhances the beauty and longevity of your instrument.
Whether you’re a seasoned luthier or a hobbyist, mastering the art of guitar finish buffing is a rewarding endeavor that will elevate your craftsmanship to new heights. Don’t be afraid to experiment with different compounds, pads, and techniques to find what works best for you.
With practice, you’ll develop a keen eye for detail and a steady hand, allowing you to consistently achieve stunning results. Remember, the key to success is patience and persistence.
So, take your time, pay attention to the details, and enjoy the process of transforming a good finish into a great one. Happy buffing, and may your guitars shine for years to come!
Always remember that the finish is one of the most important aspects of a guitar, both aesthetically and functionally. A well-buffed finish not only looks beautiful but also protects the wood from moisture, scratches, and other damage.
By investing the time and effort to learn the art of guitar finish buffing, you can ensure that your instruments will look and sound their best for many years to come.
So go ahead, grab your buffing machine, your compounds, and your pads, and start creating some stunning finishes. The results will be well worth the effort!
Achieving a flawless, mirror-like sheen on a guitar is the goal of many luthiers and guitar enthusiasts. The process of guitar finish buffing is essential for bringing out the true beauty of the wood and the protective layers applied to it.
But it’s not just about aesthetics; proper buffing also enhances the longevity and durability of the guitar finish. This comprehensive guide will cover everything you need to know about guitar finish buffing, from selecting the right materials to mastering the techniques that will leave your instrument looking its absolute best.
Whether you’re a seasoned luthier or a hobbyist working on your first project, understanding the nuances of guitar finish buffing is a game changer. Getting a professional-grade finish is within reach with the right knowledge and a bit of practice.
Why Buffing is Essential for a Professional Guitar Finish
Buffing is not merely a cosmetic step, it’s a fundamental process in achieving a professional guitar finish. It transforms a good finish into a great one, elevating the instrument’s overall appearance and feel.
The primary purpose of buffing is to smooth out any imperfections in the finish, such as orange peel, dust particles, or brush strokes. These minor flaws are inevitable during the application of lacquer or other finish materials.
Buffing removes these imperfections, creating a perfectly level surface that reflects light evenly. This results in a deep, glossy shine that enhances the natural beauty of the wood beneath.
Beyond aesthetics, buffing also plays a crucial role in protecting the finish itself. By smoothing out the surface, you reduce the likelihood of scratches and dings that can penetrate the finish and damage the wood.
A well-buffed finish is also easier to clean and maintain, further extending its lifespan. The smooth surface prevents dirt and grime from adhering as easily, making regular cleaning more effective.
Furthermore, the buffing process can actually improve the structural integrity of the finish. By removing surface imperfections, you eliminate potential stress points that could lead to cracking or chipping over time.
In essence, buffing is an investment in the long-term beauty and durability of your guitar. It’s a crucial step that should not be overlooked if you’re aiming for a truly professional and lasting finish.
Think of buffing as the final polish that brings out the hidden brilliance of your instrument. It’s the difference between a good-looking guitar and a show-stopping masterpiece.
Choosing the Right Buffing Compounds and Pads
Selecting the appropriate buffing compounds and pads is paramount to achieving the desired results in guitar finish buffing. The market offers a variety of options, each designed for specific stages of the buffing process.
Buffing compounds are abrasive materials that gradually remove imperfections and polish the finish. Compounds come in varying levels of abrasiveness, typically categorized as cutting, polishing, and finishing compounds.
Cutting compounds are the most abrasive and are used to remove significant imperfections like orange peel or deep scratches. Polishing compounds are less abrasive and are used to refine the surface after cutting, removing swirl marks and haziness.
Finishing compounds are the least abrasive and are used to achieve the final, high-gloss shine. As for buffing pads, these are typically made from foam, wool, or microfiber.
When choosing a cutting compound, look for one that is specifically designed for automotive or guitar finishes. These compounds are formulated to remove imperfections without causing excessive scratching or damage.
For polishing compounds, consider using a product that contains diminishing abrasives. These abrasives break down as you buff, gradually reducing the level of cut and leaving a smoother finish.
Finishing compounds often contain waxes or other polishing agents that enhance the shine and protect the finish. Always read the manufacturer’s instructions carefully before using any buffing compound or pad.
It’s also important to consider the compatibility of the compound and pad with the type of finish you’re working with. Some finishes are more sensitive to certain chemicals or abrasives than others.
Understanding Buffing Pad Materials
Foam pads are versatile and are commonly used for polishing and finishing stages. Wool pads are more aggressive and are typically used for cutting compounds.
Microfiber pads are gentle and are ideal for applying finishing compounds to achieve a swirl-free shine. When selecting buffing pads, consider the size and density of the pad.
Larger pads cover more surface area, while denser pads offer more aggressive cutting action. It’s important to choose pads that are compatible with your buffing machine and the type of finish you’re working with.
Experimenting with different combinations of compounds and pads is often necessary to find the perfect match for your specific project. Be sure to always test new combinations on a small, inconspicuous area of the guitar first to ensure compatibility and prevent any unwanted results.
Foam pads come in a variety of densities, ranging from soft to firm. Softer foam pads are ideal for applying finishing compounds, while firmer pads are better suited for polishing compounds.
Wool pads are available in both natural and synthetic fibers. Natural wool pads are more aggressive and can generate more heat, while synthetic wool pads are more gentle and less likely to burn the finish.
Microfiber pads are extremely soft and gentle, making them ideal for achieving a swirl-free shine. They are also highly absorbent, which helps to remove excess compound and prevent streaking.
Consider investing in a variety of pads to have the right tool for each stage of the buffing process. Proper pad maintenance is also crucial for achieving optimal results.
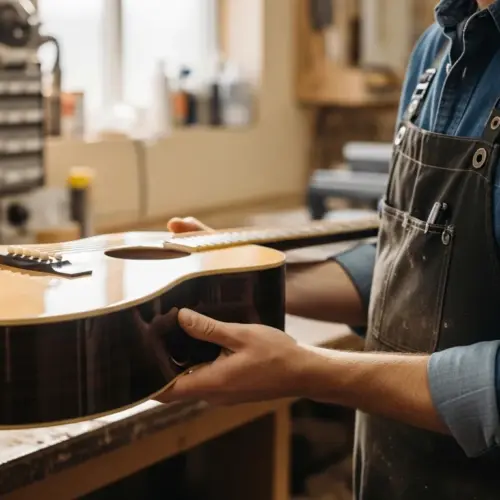
Preparing the Guitar Surface for Buffing
Proper preparation of the guitar surface is crucial for successful buffing. This involves ensuring that the finish is fully cured, level, and free of any contaminants.
Before buffing, allow the finish to cure completely according to the manufacturer’s recommendations. This may take several days or even weeks, depending on the type of finish used.
| Compound Type | Pad Material | Typical Use |
|---|---|---|
| Cutting Compound | Wool or Aggressive Foam | Removing Orange Peel, Deep Scratches |
| Polishing Compound | Foam | Removing Swirl Marks, Haze |
| Finishing Compound | Microfiber or Soft Foam | Achieving High-Gloss Shine |
| Swirl Remover | Soft Foam | Eliminating Fine Swirl Marks |
Once the finish is cured, inspect the surface for any imperfections. Leveling the surface with fine-grit sandpaper, typically 1200 grit or higher, is often necessary to remove any remaining orange peel or unevenness.
Wet sanding is often recommended to minimize scratches and dust. Use a sanding block to ensure even pressure and avoid creating flat spots.
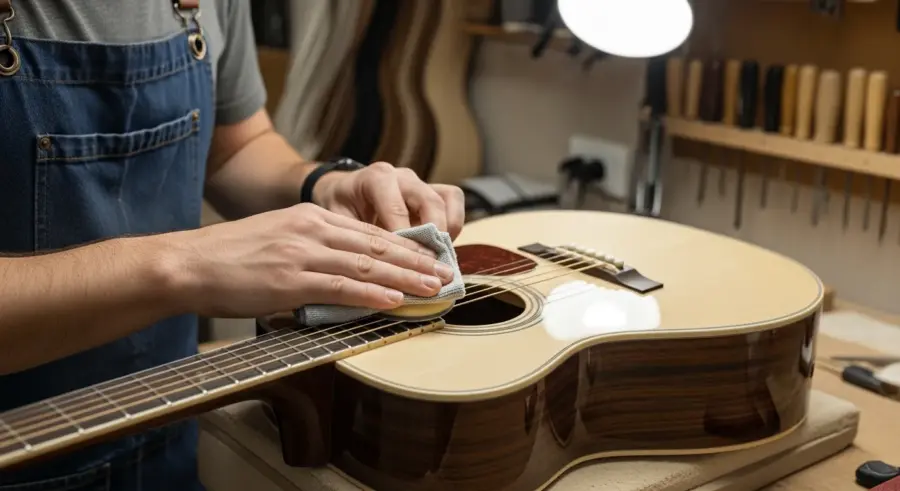
After sanding, thoroughly clean the surface with a tack cloth or a lint-free cloth dampened with mineral spirits. This will remove any sanding residue and contaminants that could interfere with the buffing process.
Pay close attention to edges and corners, as these areas are often difficult to sand and clean properly. It’s also important to work in a clean and well-lit environment to avoid introducing new contaminants to the surface.
Consider using a magnifying glass to inspect the surface for any remaining imperfections. Addressing these imperfections before buffing will save you time and effort in the long run.
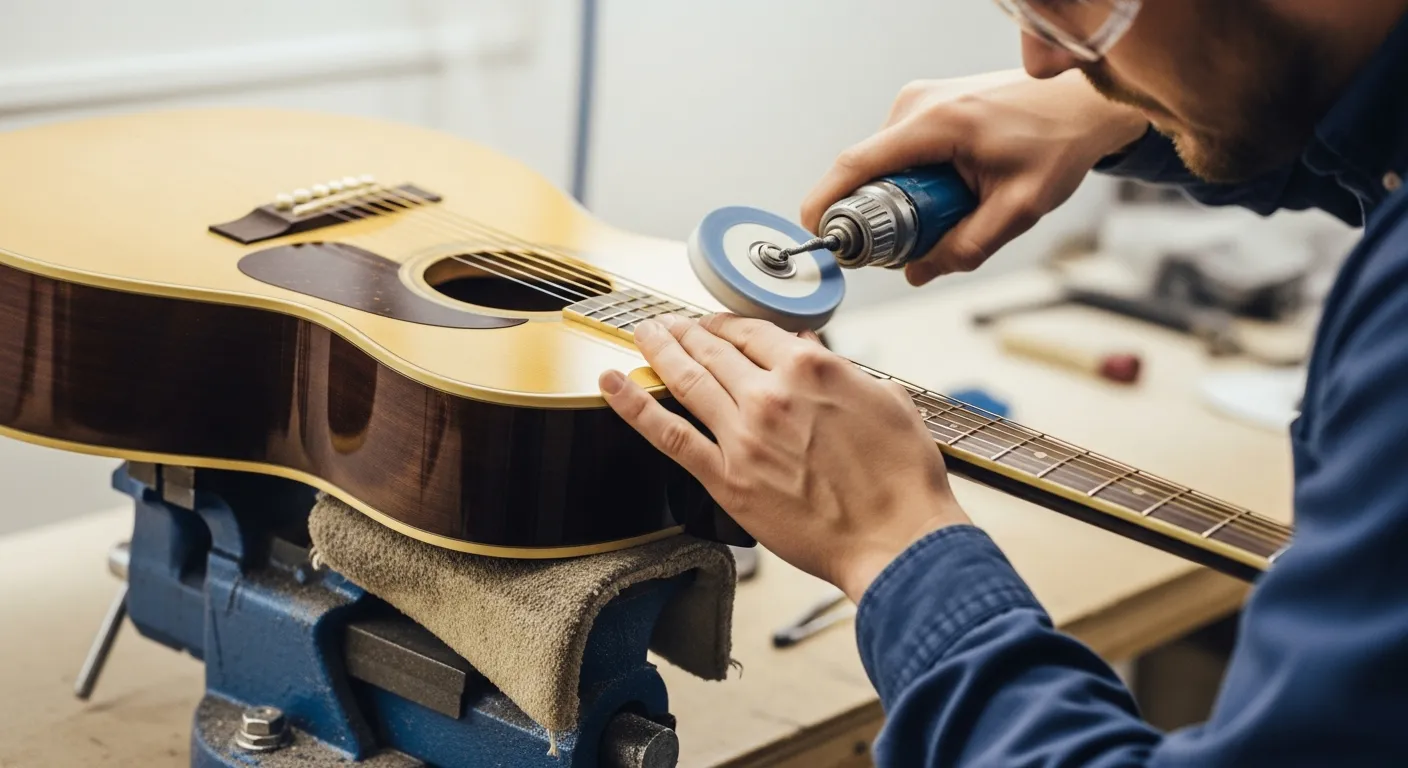
Buffing Techniques: Step-by-Step Guide
Now, let’s delve into the step-by-step process of guitar finish buffing. This involves using a series of buffing compounds and pads to gradually refine the surface and achieve a high-gloss shine.
Begin by applying a small amount of cutting compound to a wool or aggressive foam pad. Using a buffing machine set to a low speed, gently work the compound into the finish using overlapping passes.
Maintain consistent pressure and avoid staying in one spot for too long, as this can generate excessive heat and damage the finish. After cutting, switch to a polishing compound and a foam pad.
Repeat the buffing process, using overlapping passes and consistent pressure. This will remove any swirl marks or haziness left by the cutting compound.
Finally, apply a finishing compound to a microfiber or soft foam pad. Buff the surface one last time to achieve the final, high-gloss shine. Always clean the surface between each step with a clean, soft cloth to remove any residue from the previous compound.
When applying the compound to the pad, use a small amount and spread it evenly. Avoid applying too much compound, as this can cause the pad to become saturated and less effective.
Use a slow, steady speed when buffing, typically between 1000 and 2000 RPM. Avoid using excessive speed, as this can generate too much heat and damage the finish.
Overlap your passes by about 50% to ensure complete coverage. Pay attention to the edges and corners of the guitar, as these areas are often more prone to imperfections.
After each step, inspect the surface carefully for any remaining imperfections. If necessary, repeat the step or move on to the next step.
Dealing with Swirl Marks and Other Buffing Issues
Despite your best efforts, swirl marks and other issues can sometimes arise during the buffing process. Understanding how to identify and address these problems is crucial for achieving a flawless finish.
Swirl marks are fine, circular scratches that appear on the surface of the finish, typically caused by improper buffing technique or contaminated pads. To remove swirl marks, use a swirl remover compound and a soft foam pad.
Gently buff the affected area using overlapping passes until the swirl marks disappear. Another common issue is haze, which is a dull, cloudy appearance on the finish.
Haze can be caused by using too aggressive of a compound or pad, or by not properly cleaning the surface between buffing steps. To remove haze, use a polishing compound and a foam pad, followed by a finishing compound and a microfiber pad.
- Use clean pads for each compound
- Avoid excessive pressure
- Keep the buffer moving
- Clean the surface between steps
- Work in a well-lit area
Pay attention to the edges and corners of the guitar, as these areas are prone to burning or thinning of the finish. With patience and attention to detail, you can overcome these challenges and achieve a stunning, swirl-free finish.
Burning occurs when the finish gets too hot during buffing, causing it to soften and smear. To prevent burning, use a lower speed, apply less pressure, and keep the buffer moving.
If you do experience burning, allow the finish to cool completely before attempting to repair it. You may need to sand the affected area and re-buff it.
Another common issue is orange peel, which is a textured surface that resembles the skin of an orange. Orange peel is typically caused by improper spraying technique or insufficient leveling of the finish.
To remove orange peel, you will need to sand the finish with fine-grit sandpaper before buffing. Take your time and be careful not to sand through the finish.
Hand Buffing vs. Machine Buffing
Both hand buffing and machine buffing are viable options for achieving a high-gloss finish on a guitar. Each method has its own advantages and disadvantages, and the choice between the two often depends on personal preference, budget, and the size and complexity of the project.
Hand buffing involves using buffing compounds and pads to polish the finish by hand. This method is less expensive, as it doesn’t require the purchase of a buffing machine.
Hand buffing also offers more control and precision, making it ideal for small areas or intricate details. However, hand buffing can be more time-consuming and physically demanding, especially for larger projects.
Machine buffing, on the other hand, involves using a power tool to automate the buffing process. This method is faster and more efficient than hand buffing, making it ideal for larger projects or production environments.
Machine buffing can also produce more consistent results, as the machine maintains a constant speed and pressure. However, machine buffing requires an investment in a buffing machine, and it can be more difficult to control, especially for beginners.
Ultimately, the best method depends on your individual needs and preferences. Experimenting with both hand buffing and machine buffing is recommended to determine which approach works best for you.
If you choose to hand buff, be sure to use high-quality buffing pads and compounds. Apply consistent pressure and use overlapping circular motions.
Take your time and be patient, as hand buffing can be a slow process. It’s also important to clean the surface frequently to remove any residue.
If you choose to machine buff, start with a low speed and gradually increase it as needed. Use a light touch and avoid applying too much pressure.
Keep the buffer moving and overlap your passes to ensure complete coverage. Be careful not to burn the finish, especially on edges and corners.
Safety Precautions and Best Practices
Before you begin buffing, it’s essential to prioritize safety and follow best practices to protect yourself and your instrument. Always wear appropriate safety gear, including eye protection, a dust mask, and gloves.
Buffing compounds can be abrasive and can irritate the skin and eyes. Work in a well-ventilated area to avoid inhaling dust and fumes.
When using a buffing machine, be sure to follow the manufacturer’s instructions and use the appropriate speed and pressure. Avoid applying too much pressure or staying in one spot for too long, as this can generate excessive heat and damage the finish.
Regularly inspect your buffing pads for wear and tear, and replace them as needed. Contaminated or worn pads can scratch the finish and compromise the results.
Always unplug the buffing machine before changing pads or performing any maintenance. Never leave the buffing machine unattended while it is running.
Store buffing compounds and pads in a clean, dry place. Keep them away from heat, moisture, and direct sunlight.
Dispose of used buffing pads and compounds properly. Follow local regulations for the disposal of hazardous materials.
If you are new to guitar finish buffing, start with a practice piece before working on your instrument. This will allow you to get a feel for the process and avoid making mistakes on your guitar.
Conclusion
Guitar finish buffing is a skill that requires patience, practice, and attention to detail. By understanding the principles and techniques outlined in this guide, you can achieve a professional-grade finish that enhances the beauty and longevity of your instrument.
Whether you’re a seasoned luthier or a hobbyist, mastering the art of guitar finish buffing is a rewarding endeavor that will elevate your craftsmanship to new heights. Don’t be afraid to experiment with different compounds, pads, and techniques to find what works best for you.
With practice, you’ll develop a keen eye for detail and a steady hand, allowing you to consistently achieve stunning results. Remember, the key to success is patience and persistence.
So, take your time, pay attention to the details, and enjoy the process of transforming a good finish into a great one. Happy buffing, and may your guitars shine for years to come!
Always remember that the finish is one of the most important aspects of a guitar, both aesthetically and functionally. A well-buffed finish not only looks beautiful but also protects the wood from moisture, scratches, and other damage.
By investing the time and effort to learn the art of guitar finish buffing, you can ensure that your instruments will look and sound their best for many years to come.
So go ahead, grab your buffing machine, your compounds, and your pads, and start creating some stunning finishes. The results will be well worth the effort!