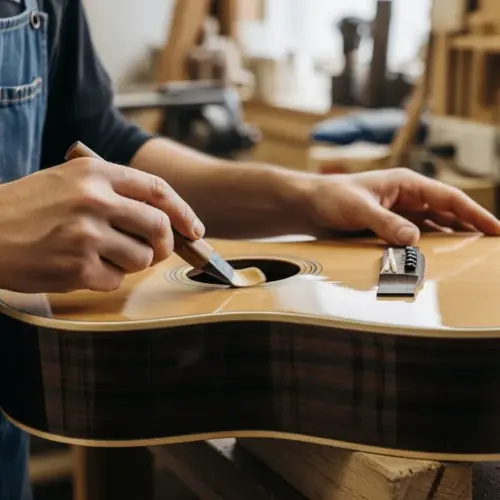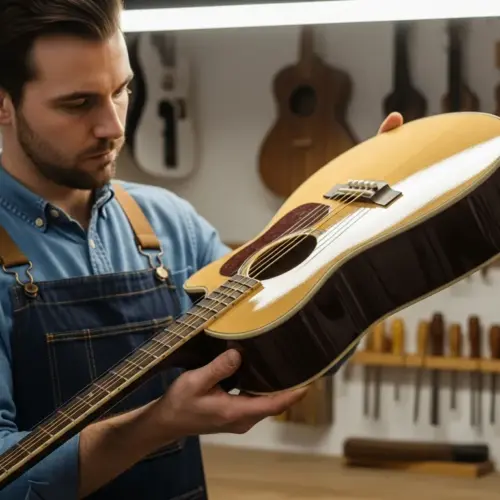

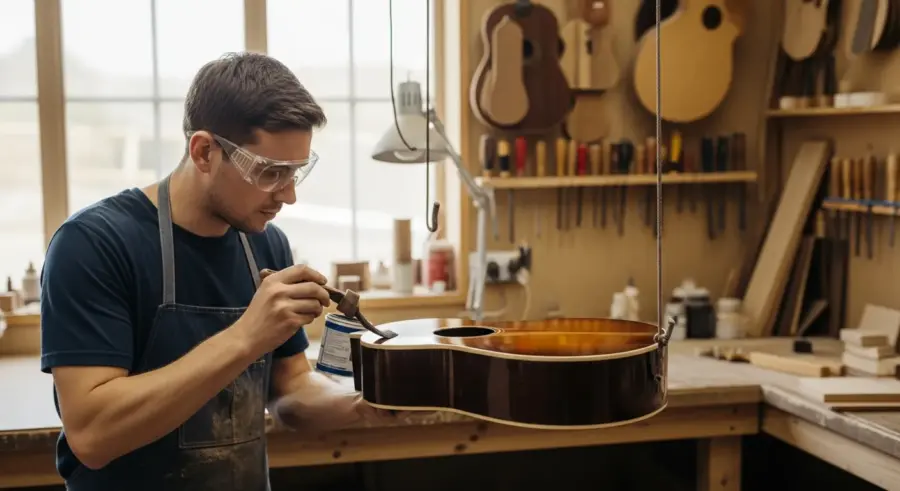
Tinted guitar lacquer is a fantastic way to personalize your instrument. It allows you to achieve custom colors and finishes that stand out from the crowd. Whether you’re aiming for a vintage look or a modern, eye-catching aesthetic, mastering tinted lacquer is a valuable skill for any luthier or guitar enthusiast.
This article will guide you through the process of using tinted guitar lacquer, from selecting the right tints to applying the finish evenly. We’ll cover everything you need to know to create a beautiful and durable finish on your guitar. Get ready to explore the world of custom guitar color!
By understanding the nuances of tinted lacquer, you can transform an ordinary instrument into a unique work of art. Let’s get started and unlock the potential of tinted guitar lacquer for your next project. You will be amazed at what you can create.
The Benefits of Using Tinted Lacquer
Tinted lacquer offers several advantages over traditional, clear finishes. One of the most significant benefits is the ability to create a custom guitar color that perfectly matches your vision.
With tinted lacquer, you’re not limited to the standard colors offered by manufacturers. You can mix and match tints to achieve unique shades and hues. This opens up a world of possibilities for personalizing your instrument and making it truly one-of-a-kind.
Beyond aesthetics, tinted lacquer can also enhance the wood’s natural grain and figure. A carefully chosen tint can bring out the depth and character of the wood, adding visual interest and appeal.
Tinted lacquer can also be used to create a vintage or aged look on a new guitar. By adding subtle tints, you can replicate the appearance of a well-loved instrument that has aged gracefully over time. This is a popular technique for those seeking a classic vibe.
Another benefit is the ability to repair blemishes more seamlessly. A tinted lacquer can be matched to the existing finish, making repairs less noticeable. This is especially important for vintage instruments where preserving the original finish is desired.
Tinted lacquers can also offer UV protection to the wood underneath. This can help prevent fading or discoloration over time, especially for instruments exposed to sunlight. This protection helps maintain the guitar’s aesthetic appeal for years to come.
Furthermore, using tinted lacquer allows for greater control over the final appearance of the instrument. You can fine-tune the color and depth of the finish to achieve the exact look you desire. This level of control is unmatched by pre-colored finishes.
Finally, the process of applying tinted lacquer can be a deeply satisfying and creative experience. It allows you to connect with your instrument on a personal level and create something truly unique. The results are very rewarding.
Choosing the Right Tints for Your Lacquer
Selecting the appropriate tints is essential for achieving the desired custom guitar color. There are various types of tints available, each with its own characteristics and suitability for different lacquers.
Universal tints are a popular choice because they are compatible with a wide range of lacquer types. These tints are typically concentrated pigments that can be added to both solvent-based and water-based lacquers.
Another option is to use tints specifically designed for lacquer. These tints are formulated to work seamlessly with lacquer, ensuring optimal color dispersion and adhesion. They often provide more vibrant and consistent results.
Consider the color palette you want to achieve when selecting tints. Start with a basic set of primary colors (red, yellow, blue) and black and white. You can then mix these colors to create a wide range of shades and hues. Don’t be afraid to experiment!
When choosing tints, consider the transparency or opacity you desire. Transparent tints allow the wood grain to show through, while opaque tints provide more solid coverage. The choice depends on the desired aesthetic effect.
Also, think about the lightfastness of the tints. Lightfastness refers to the tint’s resistance to fading or discoloration when exposed to light. Choose tints with good lightfastness ratings to ensure your finish remains vibrant over time.
It’s a good idea to test the tints on a scrap piece of wood before applying them to your guitar. This will allow you to see how the colors look and how they interact with the wood grain. Testing is always recommended before the real thing.
Finally, consider the compatibility of the tints with the specific type of lacquer you are using. Some tints may not be compatible with certain lacquers, which can lead to problems such as poor adhesion or discoloration. Always check the manufacturer’s recommendations.
Mixing Tints with Lacquer: Achieving Consistent Color
Proper mixing is crucial for achieving a consistent custom guitar color throughout your tinted lacquer finish. Inconsistent mixing can lead to uneven color distribution and blotchy results.
Start by adding small amounts of tint to the lacquer. It is always easier to add more tint than to remove it. Keep a record of the ratios you use, so you can replicate the color later if needed.
| Tint Color | Lacquer Type | Recommended Ratio |
|---|---|---|
| Red | Nitrocellulose | 1 oz per quart |
| Blue | Acrylic | 0.5 oz per quart |
| Yellow | Water-based | 1.5 oz per quart |
| Black | Nitrocellulose | 0.25 oz per quart |
Use a mixing stick or a mechanical mixer to thoroughly blend the tint and lacquer. Ensure that the tint is fully dispersed and that there are no streaks or clumps. This is important for a smooth finish.
When mixing, pay attention to the viscosity of the lacquer. Adding too much tint can thicken the lacquer, making it difficult to spray or brush evenly. If the lacquer becomes too thick, you may need to add a small amount of thinner.
It’s also important to mix the lacquer and tint in a clean container. Any contaminants in the container can affect the color and quality of the finish. Use a container made of glass or plastic that is specifically designed for mixing paints and lacquers.
After mixing, allow the lacquer to sit for a few minutes to allow any air bubbles to escape. This will help ensure a smoother finish. Air bubbles can create imperfections in the final result.
Always test the mixed lacquer on a scrap piece of wood before applying it to your guitar. This will allow you to check the color and consistency of the lacquer and make any necessary adjustments. Testing is a crucial step in the process.
Applying Tinted Lacquer: Techniques for Even Coverage
Applying tinted lacquer requires careful technique to ensure even coverage and avoid streaks or blotches. The goal is to achieve a smooth, consistent finish that enhances the beauty of the wood.
Before applying the tinted lacquer, prepare the surface of the guitar by sanding it smooth. Remove any dust or debris with a tack cloth. A clean surface is essential for proper adhesion.
There are several methods for applying tinted lacquer, including spraying, brushing, and wiping. Spraying is generally considered the best method for achieving an even, professional-looking finish. It gives you the most control.
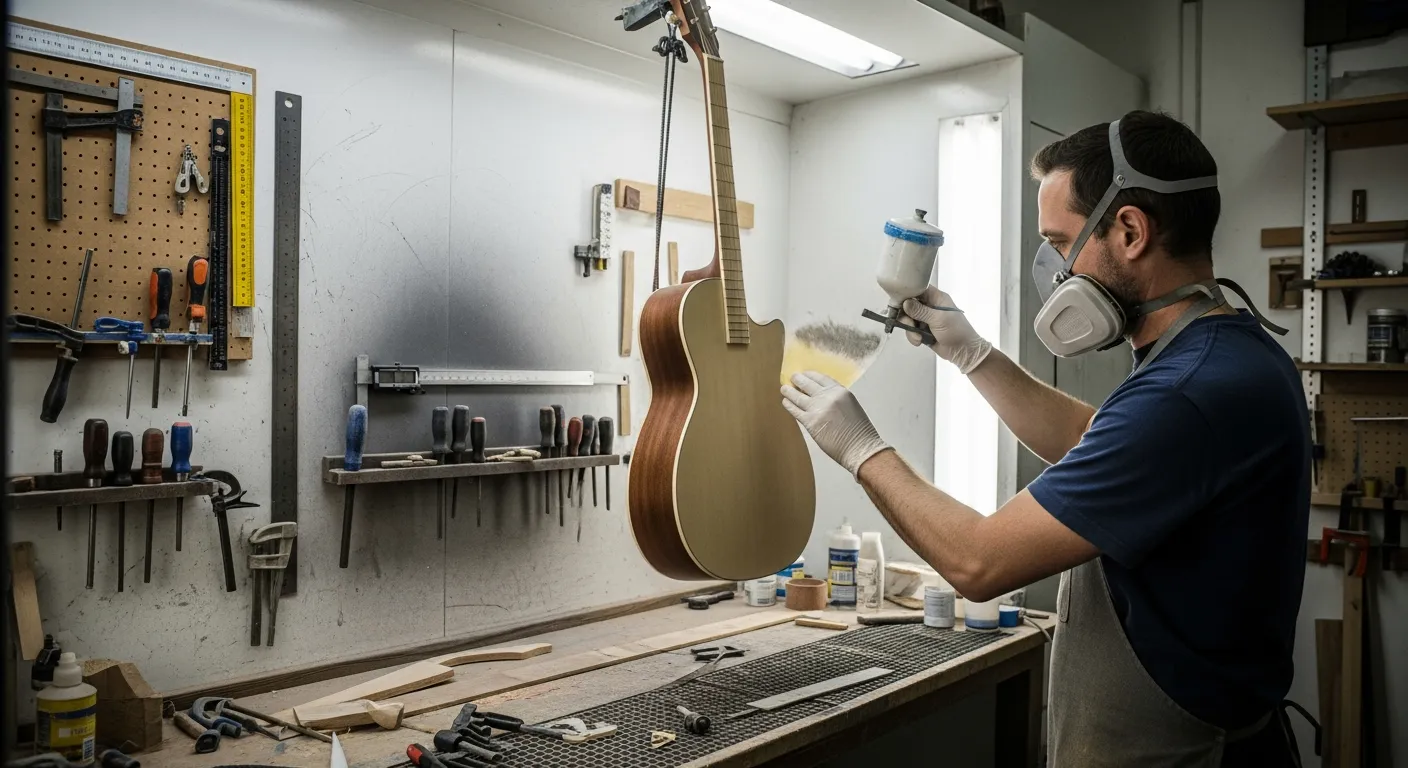
If spraying, use a high-quality spray gun and adjust the settings for optimal atomization. Apply thin, even coats of tinted lacquer, overlapping each pass slightly. Avoid applying too much lacquer in one coat, as this can lead to runs or sags. Thin coats work best.
When spraying, maintain a consistent distance between the spray gun and the guitar surface. This will help ensure even coverage. A distance of about 6-8 inches is generally recommended.
If brushing, use a high-quality brush designed for lacquer application. Apply the lacquer in long, even strokes, following the grain of the wood. Avoid applying too much pressure, as this can create brush marks.
If wiping, use a clean, lint-free cloth. Apply a small amount of lacquer to the cloth and wipe it onto the guitar surface in even strokes. This method is best for achieving a thin, subtle tint.
Regardless of the application method, it’s important to work in a well-ventilated area. Lacquer fumes can be harmful, so ensure adequate ventilation to protect your health. Always wear a respirator.
Troubleshooting Tinting Problems
Even with careful preparation and application, tinting problems can sometimes arise. Knowing how to troubleshoot these issues can save you time and frustration.
One common problem is uneven color distribution, which can result in a blotchy or streaky finish. This is often caused by insufficient mixing or improper application technique.
- Uneven color distribution
- Orange peel texture
- Runs and sags
- Bubbling or blistering
- Poor adhesion
Another issue is orange peel texture, which is a rough, bumpy surface that resembles the skin of an orange. This can be caused by spraying the lacquer too thick or from not properly preparing the surface. Proper sanding is key here.
Runs and sags occur when too much lacquer is applied in one area, causing it to drip or run down the surface. This can be avoided by applying thin, even coats of lacquer. If runs or sags do occur, allow the lacquer to dry completely and then sand them out.
Bubbling or blistering can be caused by moisture trapped under the lacquer finish. Ensure that the wood is completely dry before applying lacquer. Avoid applying lacquer in humid conditions.
Poor adhesion can occur if the surface is not properly prepared or if the lacquer is not compatible with the wood. Ensure that the surface is clean and sanded before applying lacquer. Use a lacquer that is specifically designed for use on wood.
If you encounter any of these problems, don’t panic. Take a deep breath and assess the situation. With careful troubleshooting and the right techniques, you can usually correct the issue and achieve a beautiful finish. Patience is key.
Layering Tinted Lacquers for Depth and Complexity
Layering tinted lacquers is a technique that can add depth and complexity to your custom guitar color finish. By applying multiple layers of different tints, you can create a rich, multi-dimensional look.
Start by applying a base coat of a solid color or a clear lacquer. This will provide a foundation for the subsequent tinted layers. Let the base coat dry completely before proceeding.
Next, apply a thin layer of tinted lacquer. Choose a tint that complements the base coat color. For example, if you have a blue base coat, you might apply a layer of green or purple tinted lacquer.
Allow the first tinted layer to dry before applying additional layers. You can experiment with different tints and application techniques to achieve the desired effect. Each layer adds to the depth.
Consider using different application techniques for each layer. For example, you might spray one layer and wipe another. This can create interesting textures and visual effects.
You can also use masking techniques to create patterns or designs with the different tinted layers. This allows for even greater customization and creativity.
Remember to keep the layers thin to avoid building up too much lacquer. Too much lacquer can lead to runs, sags, and other problems. Thin layers are always better.
Experiment with different color combinations to see what effects you can achieve. There are endless possibilities when it comes to layering tinted lacquers. Let your creativity guide you.
Achieving a Vintage Amber Tint
One of the most sought-after custom guitar color finishes is the vintage amber tint, often seen on classic guitars from the 1950s and 1960s. This warm, golden hue adds a touch of nostalgia and elegance to any instrument.
To achieve a vintage amber tint, start with a clear lacquer base. Then, add a small amount of amber or yellow tint to the lacquer. Mix thoroughly to ensure even color distribution.
Apply thin, even coats of the tinted lacquer, allowing each coat to dry before applying the next. Build up the color gradually until you achieve the desired level of amber tint. Avoid applying too much tint at once, as this can result in an unnatural or overly dark finish.
You can also experiment with adding a touch of brown or red tint to the amber lacquer to create a more complex and nuanced vintage look. Remember to keep the ratios consistent for repeatable results. This adds more depth to the color.
Consider using a slightly darker amber tint on the edges of the guitar to create a subtle burst effect. This can enhance the vintage look and add visual interest.
You can also use a tinted lacquer sealer before applying the amber tint. This can help to even out the color and prevent the amber tint from soaking into the wood unevenly. A good sealer is essential.
Remember that the vintage amber tint will continue to darken over time as the lacquer ages. So, it’s best to start with a slightly lighter tint than you ultimately desire. This allows for natural aging.
Finally, consider the type of wood you are using. Different woods will react differently to the amber tint. Test the tint on a scrap piece of wood before applying it to your guitar to ensure you achieve the desired look. Wood type matters.
Working with Metal Flake and Pearl Lacquers
For a more eye-catching custom guitar color finish, consider using metal flake or pearl lacquers. These finishes contain tiny particles of metal or pearl that create a shimmering, iridescent effect.
Metal flake lacquers typically contain small pieces of aluminum or other metals, which reflect light and create a sparkling appearance. Pearl lacquers, on the other hand, contain tiny particles of mica or other pearlescent materials, which create a subtle, shimmering effect.
When working with metal flake or pearl lacquers, it’s important to use a spray gun with a wide tip to prevent clogging. Apply thin, even coats of the lacquer, allowing each coat to dry before applying the next. This will help ensure an even distribution of the metal flake or pearl particles.
You may need to apply several coats of metal flake or pearl lacquer to achieve the desired level of shimmer and sparkle. Once the lacquer is dry, you can apply a clear topcoat to protect the finish and enhance its luster. This is a great way to make your guitar stand out.
When spraying metal flake lacquer, consider using a “flake gun” specifically designed for this purpose. These guns have larger nozzles and air caps that can handle the larger metal flake particles without clogging. A flake gun is a good investment.
For pearl lacquers, consider using a tinted base coat to enhance the pearl effect. A dark base coat will make the pearl shimmer more prominently, while a light base coat will create a more subtle effect. The base coat is important.
Be aware that metal flake and pearl lacquers can be more difficult to sand and polish than traditional lacquers. The metal flake or pearl particles can scratch the surface during sanding. Take extra care during these steps.
Always wear a respirator when spraying metal flake or pearl lacquers. The tiny particles can be harmful if inhaled. Safety is paramount.
Sanding and Polishing Tinted Lacquer Finishes
Sanding and polishing are essential steps for achieving a professional-looking tinted guitar lacquer finish. These processes smooth out any imperfections and enhance the gloss and clarity of the finish.
After the final coat of tinted lacquer has dried completely, begin by wet-sanding the surface with fine-grit sandpaper (e.g., 1200-grit or higher). Use a sanding block to ensure even pressure and avoid creating flat spots. Keep the sandpaper wet to prevent clogging and reduce friction.
Once you’ve sanded the entire surface, use a polishing compound and a buffing wheel to polish the finish. Start with a medium-grit compound and gradually work your way up to a fine-grit compound. This will remove any remaining scratches and create a high-gloss shine.
Be careful not to apply too much pressure or heat during the polishing process, as this can damage the finish. Use a slow, steady motion and allow the buffing wheel to do the work. With patience and care, you can achieve a stunning, glass-like finish on your tinted lacquer project. The final result is worth the effort.
When wet-sanding, use a lubricant such as water with a drop of dish soap. This will help to keep the sandpaper from clogging and reduce friction. The lubricant is very important.
After wet-sanding, be sure to thoroughly dry the surface before polishing. Any remaining moisture can interfere with the polishing process. Ensure it is completely dry.
When polishing, use a clean buffing wheel for each grade of polishing compound. This will prevent contamination and ensure the best possible results. Clean wheels are essential.
Consider using a swirl remover after polishing to remove any remaining swirl marks. This will further enhance the gloss and clarity of the finish. Swirl remover is a great final touch.
Conclusion
Tinted guitar lacquer is a versatile and rewarding technique for customizing your instrument. By understanding the basics of tint selection, mixing, application, and troubleshooting, you can achieve stunning custom colors and finishes that reflect your personal style.
Experiment with different tints, layering techniques, and application methods to discover your own unique approach. With practice and patience, you can master the art of tinted lacquer and create truly exceptional guitars.
So, grab your lacquer, tints, and spray gun, and get ready to unleash your creativity! The possibilities are endless when it comes to custom guitar color finishes. Express yourself through your instrument.
Remember to always prioritize safety and follow the manufacturer’s instructions when working with lacquer and tints. Happy tinting, and may your guitars be as unique as you are! Have fun with the process and be creative.
The world of guitar finishing is vast and ever-evolving. Continue to learn and explore new techniques to hone your skills. There’s always something new to discover.
Share your creations with the world! Inspire others with your unique custom guitar color finishes. Let your work be a source of inspiration.
Most importantly, enjoy the process. Creating a custom guitar finish is a labor of love. Savor every step of the journey.
With dedication and passion, you can transform ordinary guitars into extraordinary works of art. Unleash your inner luthier and create something truly special. The possibilities are endless!