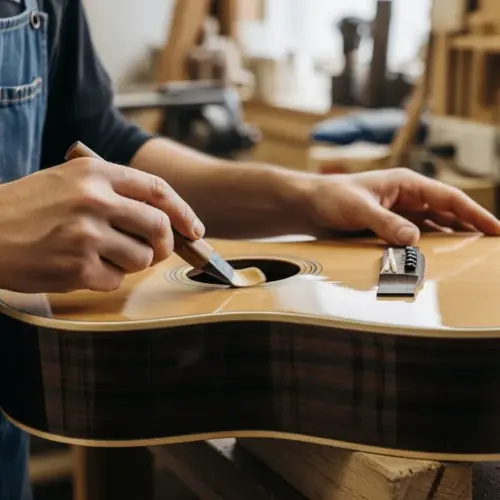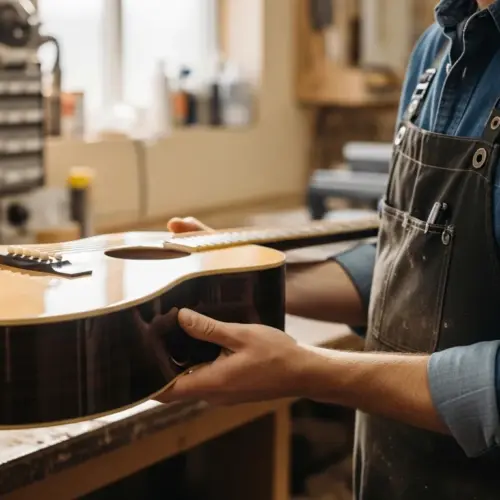


Achieving a flawless finish on your guitar starts long before the first coat of lacquer. The secret lies in proper preparation, and one of the most important steps is tonewood sealing. Applying a quality wood sealer is essential for creating a smooth, even surface that enhances the beauty and protects the integrity of your instrument.
Tonewood sealing is a crucial step that many luthiers swear by. Without it, you risk a subpar finish that could negatively impact the sound and appearance of your prized creation.
This article will guide you through the process of tonewood sealing, explaining why it’s necessary, the different types of sealers available, and how to apply them for optimal results. We’ll also cover troubleshooting common issues and explore alternatives to traditional wood sealers, so you can make informed decisions for your luthierie projects and master the art of tonewood sealing.
Why Seal Tonewoods Before Finishing?
Sealing tonewoods before applying a finish is a critical step in lutherie, offering numerous benefits that contribute to the instrument’s overall quality and longevity. One of the primary reasons for sealing is to create a uniform surface for the finish to adhere to.
Tonewoods, especially those with open pores like mahogany, can absorb finish unevenly, leading to blotching or an inconsistent sheen. A wood sealer fills these pores, preventing excessive absorption and ensuring a smooth, even finish.
Sealing also helps to stabilize the wood, minimizing the risk of cracking or warping due to moisture changes. By creating a barrier against moisture penetration, the sealer protects the wood from environmental factors that can cause dimensional instability.
This is particularly important for instruments that will be exposed to varying climates. A quality wood sealer enhances the aesthetic appeal of the finish by providing a clear, consistent base.
It prevents the finish from sinking into the wood grain, which can dull the color and reduce the depth of the finish. Ultimately, tonewood sealing is an investment in the long-term health and beauty of your instrument.
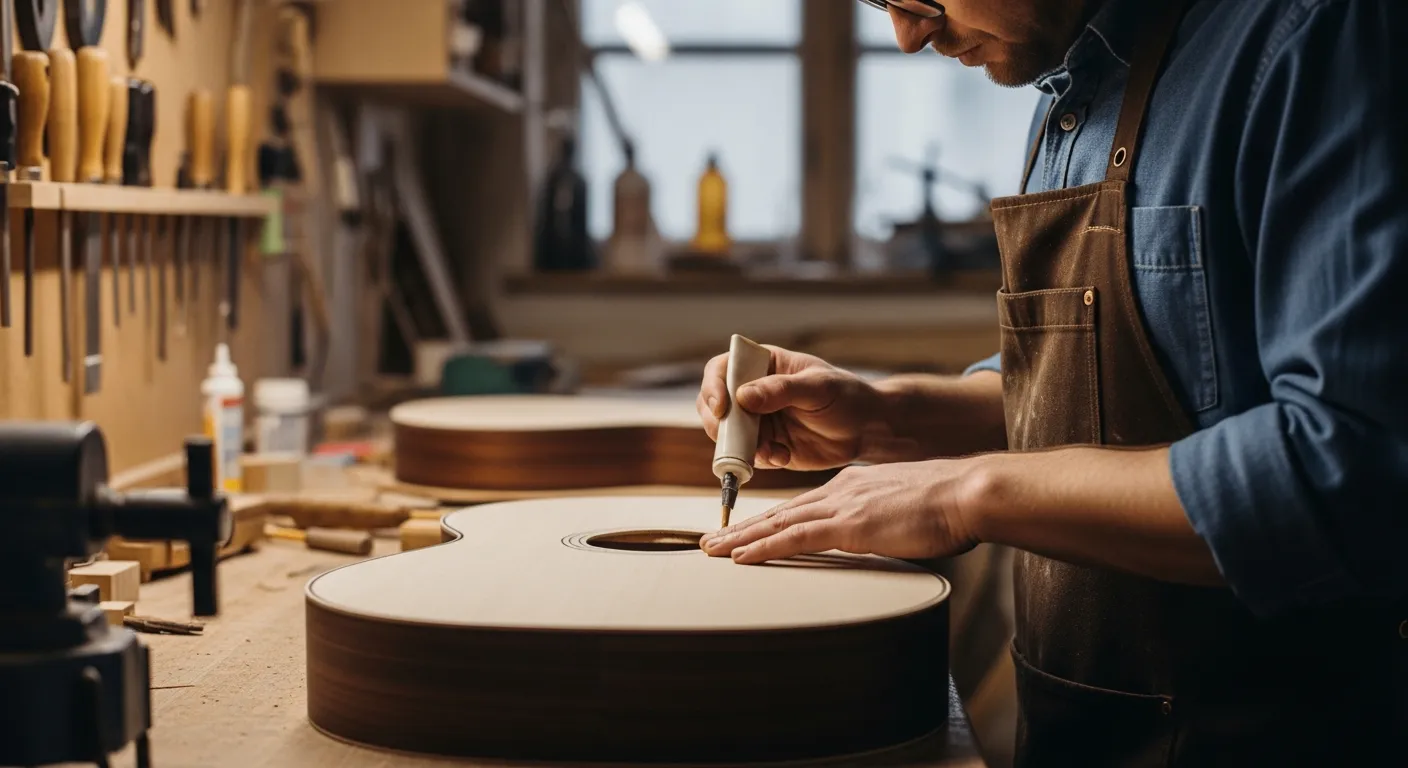
It ensures that the finish looks its best and provides lasting protection against the elements. Skipping this step can lead to costly repairs and a less-than-desirable final product.
Types of Wood Sealers: Shellac, Lacquer, and More
When it comes to selecting a wood sealer for your tonewood, you have several options to choose from, each with its own unique properties and advantages. Shellac is a classic choice, known for its natural origin and ease of use.
It’s made from the resinous secretion of the lac bug and dissolves readily in alcohol, making it easy to apply and repair. Shellac provides a warm, amber tone that can enhance the natural beauty of the wood, and it’s also a good barrier against moisture.
Lacquer is another popular option, prized for its durability and clarity. Nitrocellulose lacquer is commonly used on guitars, offering a hard, glossy finish that resists scratches and scuffs.
It dries quickly and can be easily buffed to a high shine. However, lacquer can be more challenging to apply than shellac, requiring proper ventilation and safety precautions due to its flammable nature.
Polyurethane sealers are a synthetic alternative, offering excellent durability and resistance to chemicals and moisture. They create a tough, protective layer that can withstand heavy use, making them a good choice for instruments that will be frequently played.
However, polyurethane can be more difficult to repair than shellac or lacquer, and it may not provide the same level of aesthetic appeal. Each type of wood sealer has its own set of pros and cons, so it’s important to consider your specific needs and preferences when making your selection.
Comparing Popular Wood Sealers
Choosing the right wood sealer involves understanding their specific properties. Each type of sealer offers unique advantages and disadvantages for luthierie.
Evaluating these differences will help you make an informed decision. Consider factors like durability, ease of application, and compatibility with your chosen finish.
| Sealer Type | Pros | Cons | Best For |
|---|---|---|---|
| Shellac | Easy to apply, natural, warm tone, good moisture barrier | Less durable than lacquer or polyurethane, can be brittle | Vintage-style instruments, beginners |
| Nitrocellulose Lacquer | Durable, clear, high gloss, buffs well | Flammable, requires proper ventilation, can crack over time | Professional finishes, guitars |
| Polyurethane | Excellent durability, chemical resistance, moisture resistance | Difficult to repair, may not have the same aesthetic appeal as lacquer | High-use instruments, instruments exposed to harsh environments |
| Epoxy Resin | Excellent pore filler, good base for other finishes | Difficult to sand, can be rigid | Pore filling, leveling |
Preparing the Tonewood Surface
Before you even think about applying any tonewood sealing product, you need to ensure that the wood surface is properly prepared. This is a critical step that directly impacts the quality and longevity of your finish.
Start by thoroughly sanding the wood to create a smooth, even surface. Begin with a coarser grit sandpaper (around 120-grit) to remove any imperfections, such as scratches, dents, or unevenness.
Then, gradually work your way up to finer grits (220-grit, 320-grit, and finally 400-grit) to achieve a silky-smooth texture. Sanding with the grain is essential to avoid creating swirl marks or cross-grain scratches, which can be difficult to remove later.
After sanding, remove all dust and debris from the wood surface. Use a vacuum cleaner with a soft brush attachment to remove the bulk of the dust, followed by a tack cloth to pick up any remaining particles.
A tack cloth is a sticky cloth that attracts and traps dust, ensuring a perfectly clean surface for sealing. Inspect the wood carefully for any remaining imperfections or blemishes.
If you find any, address them with additional sanding or spot repairs before proceeding. A properly prepared surface is the foundation for a flawless finish, so take your time and pay attention to detail.
Applying Wood Sealer: Brushing, Spraying, and Wiping
Once your tonewood surface is prepped and ready, it’s time to apply the wood sealer. There are several methods you can use, each with its own advantages and disadvantages.
Brushing is a traditional method that’s well-suited for small projects or intricate areas. Use a high-quality brush with natural or synthetic bristles, depending on the type of sealer you’re using.
Dip the brush into the sealer and apply a thin, even coat, working with the grain of the wood. Avoid applying too much sealer at once, as this can lead to drips and runs.
Spraying is a popular method for achieving a smooth, even finish on larger surfaces. Use a spray gun with adjustable settings to control the flow and pattern of the sealer.
Apply several thin coats, allowing each coat to dry before applying the next. This will help prevent runs and ensure a consistent finish.
Wiping is a simple method that’s ideal for applying thin coats of sealer to flat surfaces. Use a clean, lint-free cloth to apply the sealer, working with the grain of the wood.
Wipe off any excess sealer to prevent buildup. Regardless of the method you choose, always follow the manufacturer’s instructions for application and drying times.
Sanding the Sealer Coat for Optimal Adhesion
After applying the sealer coat, it’s essential to sand it lightly before applying the finish. This step ensures optimal adhesion between the sealer and the finish, preventing peeling or chipping down the road.
Use a fine-grit sandpaper (400-grit or higher) and a sanding block to gently sand the sealer coat. The goal is not to remove the sealer entirely, but to create a slightly roughened surface that the finish can grip onto.
Sand with the grain of the wood, using light, even pressure. Avoid sanding too aggressively, as this can remove too much sealer and expose the bare wood.
After sanding, remove all dust and debris from the surface. Use a vacuum cleaner with a soft brush attachment, followed by a tack cloth, to ensure a perfectly clean surface.
Inspect the surface carefully for any imperfections or unevenness. If you find any, address them with additional sanding before proceeding.
Sanding the sealer coat is a crucial step that should not be overlooked. It ensures a strong, durable bond between the sealer and the finish, resulting in a long-lasting and beautiful instrument.
Troubleshooting Common Sealing Issues
Even with careful preparation and application, you may encounter some common issues when sealing tonewoods. One of the most frequent problems is blotching, which occurs when the sealer is absorbed unevenly into the wood.
This can result in a patchy or inconsistent appearance. To prevent blotching, use a pre-sealant or a gel stain to even out the wood’s absorption rate before applying the sealer.
- Blotching: Use a pre-sealant
- Runs and drips: Apply thin coats
- Orange peel: Adjust spray gun settings
- Bubbles: Avoid shaking the sealer
- Fish eye: Clean surface thoroughly
Another common issue is runs and drips, which can occur when too much sealer is applied at once. To avoid this, apply thin, even coats, allowing each coat to dry before applying the next.
If you do get runs or drips, sand them down carefully before applying the next coat. “Orange peel” is a textured surface that can occur when spraying sealer.
Alternatives to Traditional Wood Sealers
While shellac, lacquer, and polyurethane are the most common choices for wood sealers, there are several alternatives that you may want to consider. Epoxy resins are a popular option for filling pores and creating a smooth, level surface.
They offer excellent adhesion and durability, making them a good choice for instruments that require a tough, protective layer. However, epoxy resins can be more difficult to sand than traditional sealers, and they may not be compatible with all types of finishes.
Water-based sealers are an environmentally friendly alternative, offering low VOC emissions and easy cleanup. They provide a clear, even finish that’s resistant to yellowing, making them a good choice for light-colored woods.
However, water-based sealers may not be as durable as solvent-based options, and they may require more coats to achieve the desired level of protection. Oil-based sealers penetrate deeply into the wood, providing excellent moisture resistance and enhancing the natural grain.
They offer a warm, rich tone that can enhance the beauty of the wood, but they may require longer drying times than other types of sealers. Each alternative has its own set of advantages and disadvantages, so it’s important to weigh your options carefully before making a decision.
Consider your specific needs and preferences, as well as the type of wood you’re working with, to determine the best sealer for your project. Don’t be afraid to experiment with different options to find the one that works best for you.
Achieving a Mirror Finish Through Sealing
The quest for a flawless, mirror-like finish on a guitar often begins with meticulous tonewood sealing. This process is not just about protecting the wood; it’s about creating the perfect canvas for subsequent layers of finish.
The initial sealing coats fill the pores and level the surface, preventing the finish from sinking into the wood unevenly. This is especially critical for open-pore woods like mahogany or rosewood, where the finish can otherwise appear dull and uneven.
Building up thin, even layers of sealer, followed by careful sanding, is the key to achieving a glass-smooth surface. Each layer fills minute imperfections, while sanding refines the surface further, creating a flawless base for the final coats of lacquer or varnish.
The choice of sealer also plays a role in the final appearance. Certain sealers, like shellac, can impart a warm, amber tone that enhances the wood’s natural beauty, while others, like clear lacquer, maintain the wood’s original color.
Ultimately, achieving a mirror finish through tonewood sealing requires patience, attention to detail, and a commitment to building a flawless foundation. It’s a testament to the luthier’s skill and dedication to creating an instrument that looks as good as it sounds.
A well-sealed instrument not only boasts a stunning appearance but also benefits from enhanced durability and protection against environmental factors, ensuring its longevity and preserving its value for years to come.
The Impact of Sealing on Acoustic Properties
While the primary goal of tonewood sealing is to prepare the surface for finishing, it’s important to consider its potential impact on the acoustic properties of the instrument. The type and thickness of the sealer can affect the wood’s ability to vibrate freely, which in turn can influence the instrument’s tone and sustain.
A thick, heavy sealer can dampen the wood’s vibrations, resulting in a dull or lifeless tone. On the other hand, a thin, flexible sealer can allow the wood to vibrate more freely, enhancing the instrument’s resonance and sustain.
Many luthiers prefer to use thin coats of shellac or lacquer, as these materials are known for their flexibility and minimal impact on the wood’s acoustic properties. They believe that these sealers allow the instrument to breathe and produce a more natural, vibrant tone.
Others prefer to use epoxy resins or polyurethane sealers for their durability and moisture resistance, but they take care to apply them in thin coats to minimize their impact on the instrument’s sound. The key is to strike a balance between protection and acoustic performance.
Choose a sealer that provides adequate protection without compromising the instrument’s tone. Experiment with different sealers and application techniques to find the combination that works best for you and your instrument.
Consider the type of wood you’re working with, as well as the desired tonal characteristics of the instrument, to make an informed decision that enhances both its appearance and its sound.
Tonewood Sealing: A Step-by-Step Guide
Now that you understand the importance of tonewood sealing, let’s walk through a step-by-step guide to help you achieve professional results. First, gather your materials: wood sealer of your choice, sandpaper (120-grit, 220-grit, 320-grit, 400-grit), sanding block, tack cloth, brush or spray gun, and safety glasses.
Prepare the wood surface by sanding it smooth, starting with 120-grit sandpaper and working your way up to 400-grit. Remove all dust and debris with a vacuum cleaner and tack cloth.
Apply a thin, even coat of wood sealer using a brush or spray gun. Work with the grain of the wood, and avoid applying too much sealer at once.
Allow the sealer to dry completely, following the manufacturer’s instructions for drying times. Sand the sealer coat lightly with 400-grit sandpaper to create a smooth, even surface.
Remove all dust and debris with a vacuum cleaner and tack cloth. Apply additional coats of sealer as needed, sanding lightly between each coat.
Once you’ve achieved the desired level of sealing, you’re ready to apply the finish. Remember to always work in a well-ventilated area and wear safety glasses to protect your eyes.
Conclusion
Tonewood sealing is an essential step in lutherie that should not be overlooked. It provides a smooth, even surface for the finish to adhere to, protects the wood from moisture, and enhances the overall appearance of the instrument.
By understanding the different types of wood sealers available and following the proper application techniques, you can achieve professional results that will last for years to come. Don’t be afraid to experiment and find the methods and materials that work best for you.
With practice and patience, you can master the art of tonewood sealing and create instruments that are both beautiful and durable. Embrace the process and enjoy the satisfaction of crafting a truly exceptional instrument.
Mastering tonewood sealing elevates your craftsmanship. It transforms good instruments into great ones with lasting beauty.