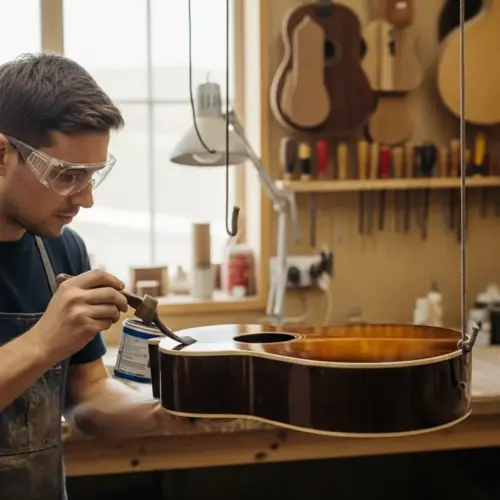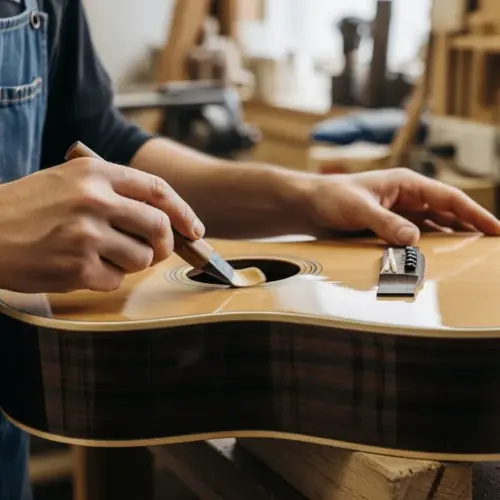

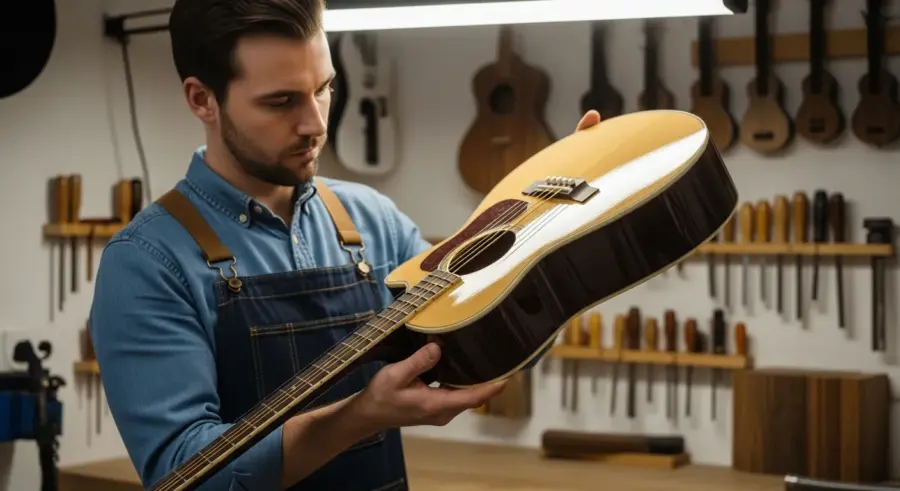
Achieving a flawless guitar finish is a goal for many luthiers and guitar enthusiasts. However, the dreaded orange peel effect can quickly turn a beautiful instrument into a frustrating project. Getting rid of orange peel and ending up with a smooth, glass-like surface requires understanding the causes and mastering the techniques to prevent and correct it.
This article will guide you through the process of eliminating guitar finish orange peel. You’ll learn the best practices for application, sanding, and buffing, plus troubleshooting tips to help you achieve professional-quality results.
Whether you’re a seasoned luthier or a beginner, this guide will provide valuable insights and practical advice. Read on to discover how to achieve a smooth, glass-like guitar finish free from orange peel.
What is Orange Peel and Why Does It Happen?
Orange peel is a texture that resembles the surface of an orange, characterized by small, irregular bumps and dimples. It’s a common defect in sprayed finishes, including those on guitars.
The term “orange peel finish” describes a surface that isn’t smooth or level. Instead, it has a wavy or stippled look, like the skin of an orange, and this texture scatters light, reducing the gloss and clarity of the finish.
This happens when the finish doesn’t flow out and level properly during the drying process. Several factors can contribute to this, including the viscosity of the finish, the spraying technique, and environmental conditions.
Understanding why orange peel occurs is the first step in preventing and correcting it. By identifying the root causes, you can adjust your techniques and materials to achieve a smoother, more professional guitar finish.
Causes of Orange Peel: Viscosity, Spraying Technique, and More
Several factors can contribute to the formation of orange peel in guitar finishes. These factors can be broadly categorized into material properties, application techniques, and environmental conditions.
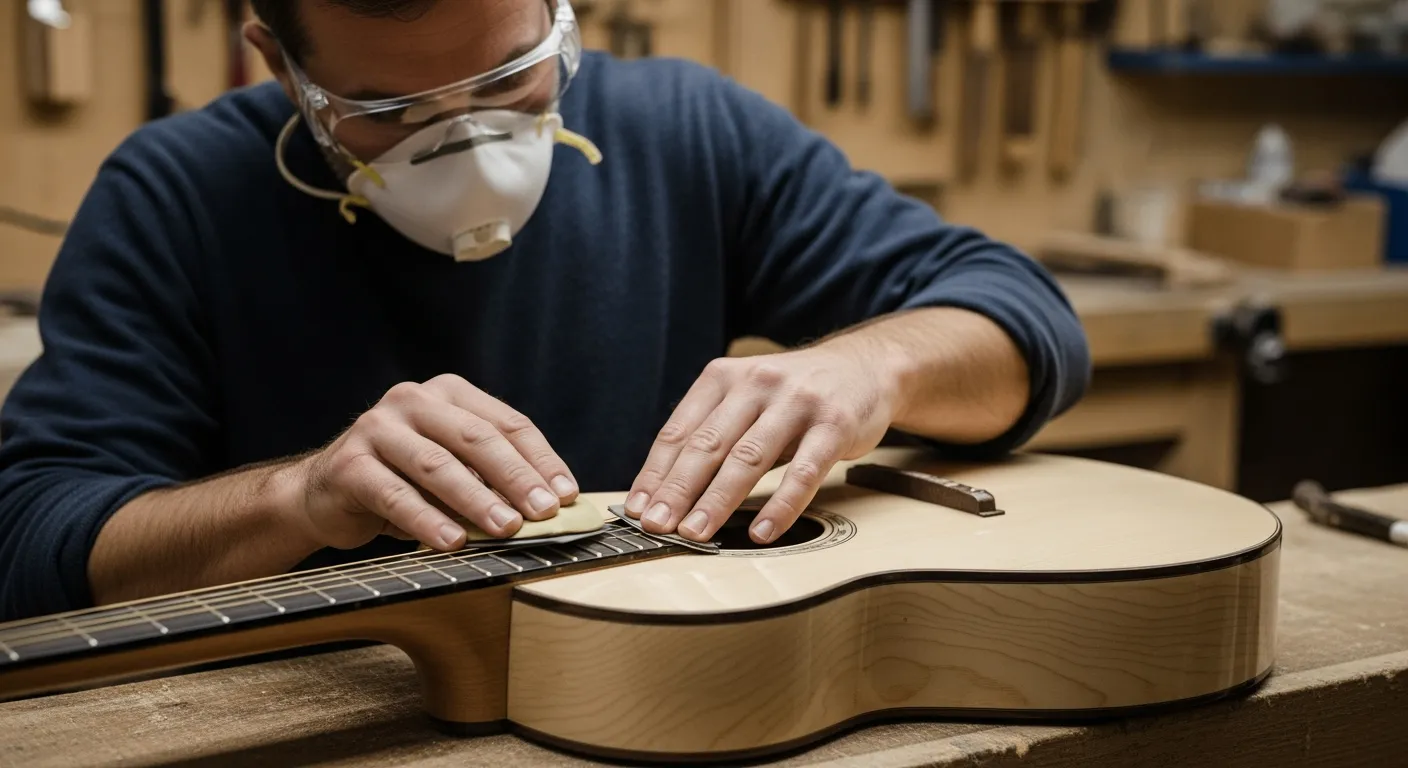
Understanding these causes is essential for preventing orange peel and achieving a smooth, even finish. Let’s examine each of these in more detail.
One of the primary causes of orange peel is the viscosity of the finish material. If the finish is too thick, it won’t flow out and level properly after being sprayed, resulting in an uneven surface.
Spraying technique also plays a significant role. Holding the spray gun too far from the surface, moving it too quickly, or using an incorrect spray pattern can all lead to orange peel.
Another factor is the air pressure used during spraying. Too little air pressure can cause the finish to atomize poorly, resulting in larger droplets that don’t flow together smoothly.
In contrast, excessive air pressure can cause the finish to dry too quickly, preventing it from leveling properly. The distance between the spray gun and the guitar’s surface is also key.
The Role of Reducers and Thinners
Reducers and thinners play a crucial role in achieving a smooth guitar finish. These additives adjust the viscosity of the finish material, ensuring it flows and levels properly.
Using the correct reducer or thinner for your specific finish is essential. Different types of finishes, such as lacquer, polyurethane, and varnish, require different reducers or thinners.
Adding too much reducer or thinner can cause the finish to run or sag. On the other hand, not adding enough can result in orange peel.
Always follow the manufacturer’s recommendations for the correct ratio of finish to reducer or thinner. Experimenting with small adjustments can help you find the optimal balance for your specific spraying conditions.
Preventing Orange Peel: Best Practices for Application
Preventing orange peel starts with proper preparation and application techniques. By following best practices, you can minimize the likelihood of this defect and achieve a smoother finish.
This includes using the correct spray gun settings, maintaining a consistent distance from the surface, and applying even coats. Here’s a step-by-step guide to help you prevent orange peel during application.
First, ensure that your spray gun is properly adjusted. This means setting the correct air pressure and adjusting the spray pattern to achieve a consistent and even flow of finish.
Next, maintain a consistent distance between the spray gun and the guitar’s surface. Typically, a distance of 6-8 inches is recommended, but this may vary depending on the type of spray gun and finish you’re using.
When spraying, use smooth, even strokes, overlapping each pass by about 50%. This ensures that the finish is applied uniformly and prevents dry spots or areas of excessive buildup.
Apply multiple thin coats rather than one thick coat. Thin coats allow the finish to flow out and level properly, reducing the risk of orange peel.
Understanding Spray Gun Settings
Proper spray gun settings are critical for preventing orange peel and achieving a smooth finish. The air pressure, fluid tip size, and fan width all play a role in the quality of the spray.
Experimenting with different settings can help you find the optimal configuration for your specific finish and spraying conditions. Here’s a breakdown of the key spray gun settings and how they affect the finish.
Air pressure controls the atomization of the finish material. Too little air pressure results in larger droplets and a rough finish, while too much air pressure can cause the finish to dry too quickly and create orange peel.
The fluid tip size determines the amount of finish that is dispensed. A smaller tip is suitable for thin finishes, while a larger tip is better for thicker materials.
The fan width adjusts the size of the spray pattern. A wider fan is useful for covering large areas quickly, while a narrower fan is better for detail work and edges.
Refer to the spray gun manufacturer’s recommendations for the appropriate settings for your specific finish. Always test your settings on a scrap piece of wood before spraying your guitar.
Leveling Orange Peel: Sanding and Buffing Techniques
Even with the best application techniques, some degree of orange peel may still occur. Leveling the finish through sanding and buffing is essential for achieving a smooth, glass-like surface.
These techniques remove the uneven texture and create a uniform sheen. Here’s a guide to effectively leveling orange peel using sanding and buffing.
Start by wet-sanding the finish with progressively finer grits of sandpaper. Begin with 400-grit sandpaper to level the orange peel, then move to 600-grit, 800-grit, 1000-grit, 1200-grit, 1500-grit, and finally 2000-grit.
Wet-sanding helps to lubricate the sandpaper and prevent it from clogging. Use a sanding block to ensure even pressure and prevent creating dips or flat spots in the finish.
After sanding, use a buffing compound and a buffing wheel to polish the finish. Start with a cutting compound to remove the sanding scratches, then move to a polishing compound to enhance the gloss.
Finally, use a swirl remover to eliminate any remaining swirl marks and achieve a flawless finish. Take your time and avoid applying too much pressure, which can cause the finish to overheat and burn.
Sanding Techniques in Detail
Sanding is a crucial step in leveling orange peel and achieving a smooth finish. Proper sanding techniques ensure that you remove the texture without damaging the underlying finish.
This involves using the right sandpaper, proper lubrication, and consistent pressure. Here’s a detailed look at sanding techniques for leveling orange peel.
Always use wet-sanding techniques to minimize friction and prevent the sandpaper from clogging. Use a bucket of clean water with a few drops of dish soap to lubricate the sandpaper.
Soak the sandpaper in water for a few minutes before using it. This helps to soften the paper and prevent it from scratching the finish.
Use a sanding block to distribute pressure evenly and prevent creating dips or flat spots in the finish. Wrap the sandpaper around the block and secure it tightly.
Sand in a circular motion, overlapping each pass by about 50%. This helps to remove the orange peel evenly and prevent creating scratches.
Buffing and Polishing for a Glass-Like Finish
Buffing and polishing are the final steps in achieving a glass-like finish on your guitar. These techniques remove sanding scratches and enhance the gloss, creating a professional-quality appearance.
Using the right buffing compounds and techniques is essential for achieving the best results. Here’s a guide to buffing and polishing your guitar finish.
Start by using a cutting compound to remove the sanding scratches. Apply a small amount of compound to a clean buffing wheel and work it into the finish using light pressure.
Use a medium-speed setting on your buffing machine to prevent overheating the finish. Overlapping passes are important to ensure uniform coverage.
Next, switch to a polishing compound to enhance the gloss. Apply a small amount of compound to a clean buffing wheel and work it into the finish using light pressure.
Finally, use a swirl remover to eliminate any remaining swirl marks. Apply a small amount of swirl remover to a clean microfiber cloth and gently buff the finish by hand.
Troubleshooting Guitar Finish Orange Peel Problems
Despite your best efforts, you may still encounter orange peel in your guitar finish. Troubleshooting these problems involves identifying the cause and implementing corrective actions.
Here are some common orange peel problems and how to solve them. This will help you to get closer to the perfect finish.
- Problem: Orange peel appears immediately after spraying
- Solution: Reduce the viscosity of the finish by adding more reducer or thinner.
- Problem: Orange peel appears after the finish has dried
- Solution: Wet-sand the finish with progressively finer grits of sandpaper and buff to a high gloss.
- Problem: Sanding scratches are visible after buffing
- Solution: Use a more aggressive cutting compound or increase the buffing speed.
- Problem: Swirl marks are visible after polishing
- Solution: Use a swirl remover and a clean microfiber cloth to gently buff the finish by hand.
- Problem: Finish is uneven after sanding
- Solution: Use a sanding block to distribute pressure evenly and prevent creating dips or flat spots.
By addressing these common problems, you can achieve a smooth, glass-like finish on your guitar. Remember to take your time and pay attention to detail for the best results.
The Role of Temperature and Humidity
Temperature and humidity play a significant role in the drying and curing of guitar finishes. These environmental factors can affect the viscosity of the finish, the rate of evaporation, and the overall quality of the final product.
Understanding how temperature and humidity impact your finish can help you prevent orange peel and other defects. Here’s a look at how these factors influence the finish and how to control them.
High temperatures can cause the finish to dry too quickly, preventing it from flowing out and leveling properly. This can result in orange peel and other surface imperfections.
Low temperatures can slow down the drying process, allowing dust and other contaminants to settle on the finish. This can also affect the viscosity of the finish, making it more difficult to apply evenly.
High humidity can cause the finish to absorb moisture, leading to cloudiness or blushing. Low humidity can cause the finish to dry too quickly, resulting in orange peel and cracking.
Ideally, you should spray your guitar finish in a controlled environment with a temperature between 65°F and 75°F and a humidity level between 40% and 60%. This will help you achieve the best possible results.
Achieving a Professional Guitar Finish
Achieving a professional guitar finish requires attention to detail and a commitment to best practices. By understanding the causes of orange peel and mastering the techniques to prevent and correct it, you can achieve a smooth, glass-like surface that enhances the beauty and value of your instrument.
This includes proper preparation, application, sanding, and buffing. Here are some additional tips to help you achieve a professional-quality guitar finish.
Always start with a clean and properly prepared surface. This means sanding the wood smooth and removing any dust or contaminants.
Use high-quality finish materials and follow the manufacturer’s recommendations for application. This will help you achieve the best possible results.
Take your time and avoid rushing the process. Applying multiple thin coats and allowing each coat to dry properly is essential for achieving a smooth, even finish.
Practice on scrap pieces of wood before spraying your guitar. This will help you refine your technique and identify any potential problems before they affect your instrument.
Conclusion
Eliminating guitar finish orange peel is achievable with the right knowledge and techniques. Understanding the causes, such as viscosity and spraying technique, allows for proactive prevention.
Mastering sanding and buffing techniques ensures a smooth, glass-like surface. By following the best practices outlined in this guide, you can achieve a professional-quality finish on your guitar.
Remember to control environmental factors like temperature and humidity for optimal results. With patience and attention to detail, you can transform your instrument into a work of art.
Whether you’re a seasoned luthier or a beginner, these tips will help you achieve a flawless guitar finish. So, take your time, practice your technique, and enjoy the process of creating a beautiful instrument.