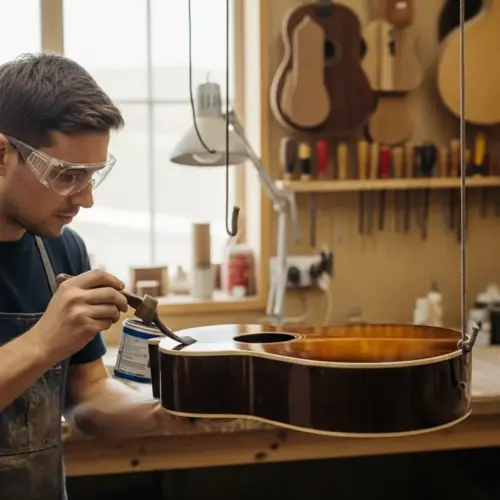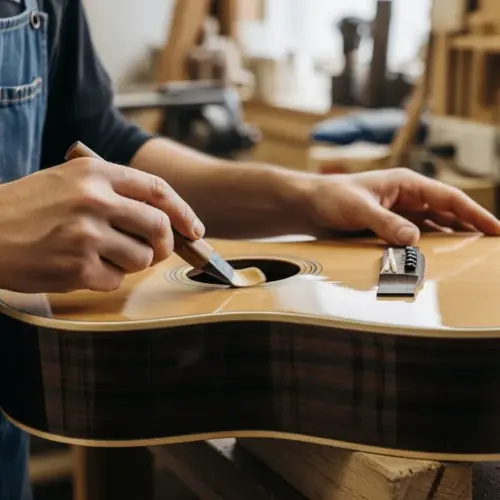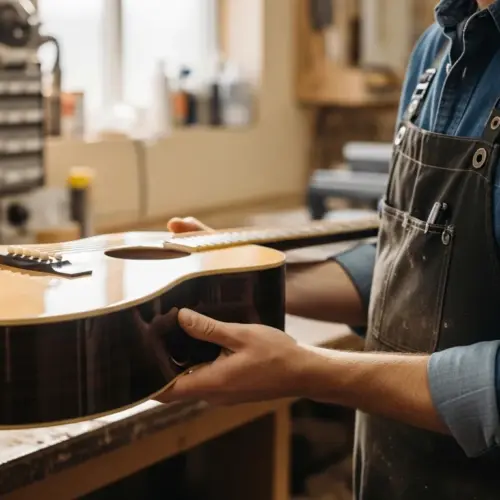

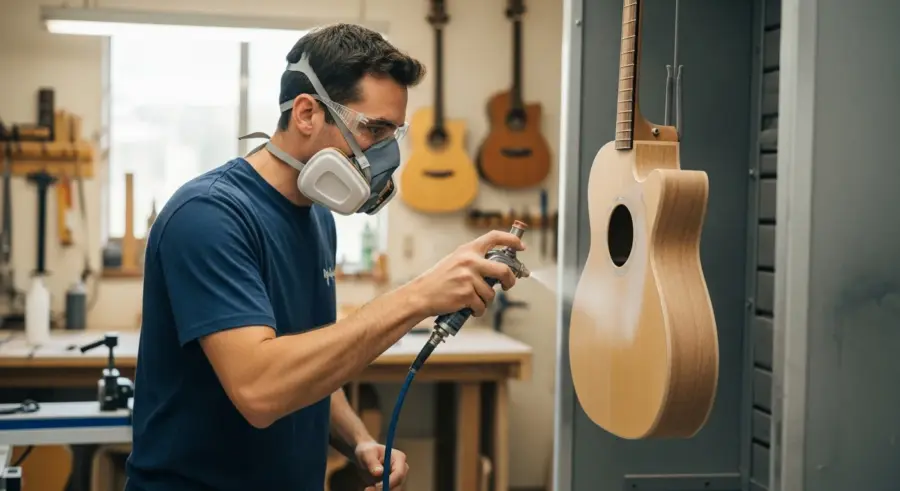
Achieving a flawless guitar finish is a goal for both amateur and professional luthiers. The quality of the finish significantly impacts the instrument’s appearance, protection, and even its tone.
Mastering guitar finish spraying is essential for producing instruments that look and sound their best. A well-applied finish enhances the wood’s natural beauty while providing a protective barrier against environmental factors.
This article provides a comprehensive guide to guitar finish spraying, covering everything from selecting the right equipment to troubleshooting common issues. We’ll explore the best practices for achieving a professional-quality application, ensuring your guitars have a durable and beautiful finish.
The guide will delve into the nuances of preparing the guitar’s surface, applying the finish in thin, even coats, and perfecting the final result through sanding and polishing. We aim to equip you with the knowledge and skills necessary to achieve a stunning, long-lasting finish.
Whether you’re new to guitar finishing or looking to refine your technique, this guide offers valuable insights. Let’s examine the tools, techniques, and tips needed to elevate your guitar finishing skills.
We will cover everything from understanding the properties of different types of finishes to mastering the art of wet sanding and buffing. Prepare to embark on a journey that will transform your guitar finishing capabilities.
Choosing the Right Spray Gun for Guitar Finishing
Selecting the appropriate spray gun is the first step in achieving a professional guitar finish. Different spray guns offer varying levels of control, atomization, and transfer efficiency. The choice depends on the type of finish you’re using and your budget.
Factors like the viscosity of the finish, the size of the project, and your experience level all play a role in determining the ideal spray gun. Understanding these factors will help you make an informed decision.
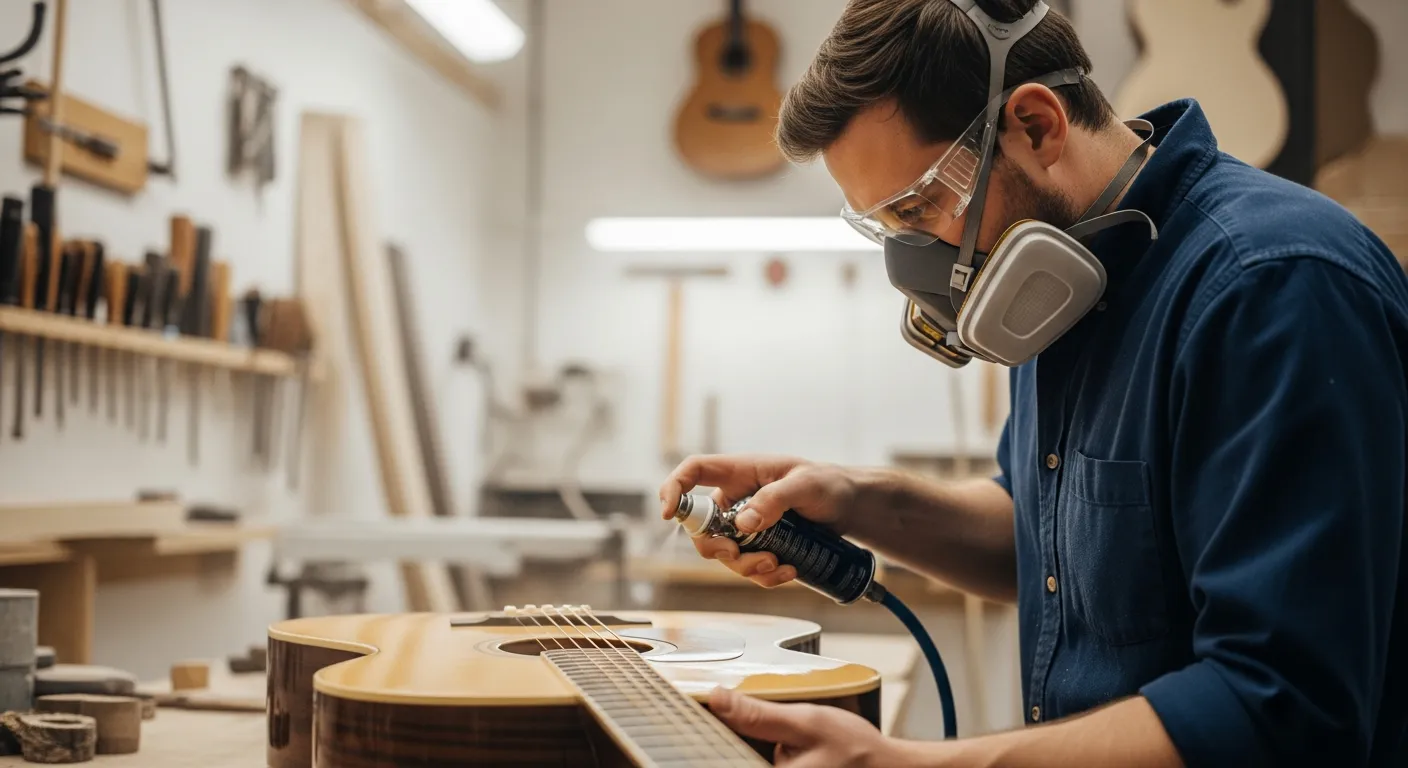
HVLP (High Volume Low Pressure) spray guns are popular among luthiers due to their high transfer efficiency. They minimize overspray and waste, making them ideal for spraying lacquer and other guitar finishes. HVLP guns also provide excellent control, allowing for precise application and reduced risk of runs or drips.
The lower air pressure of HVLP guns also results in less bounce-back, further reducing overspray and creating a cleaner working environment. This makes them a more environmentally friendly and cost-effective option in the long run.
LVLP (Low Volume Low Pressure) spray guns are another option, offering a balance between HVLP and conventional spray guns. They require less air pressure than HVLP guns, making them suitable for smaller compressors. LVLP guns are versatile and can be used with various types of guitar finishes.
LVLP guns are often preferred by those who need a portable setup or have limited access to high-powered air compressors. They provide a good compromise between transfer efficiency and ease of use.
Conventional spray guns, while less common in modern lutherie, can still be used for guitar finishing. They require higher air pressure and produce more overspray, but they can deliver a smooth, even finish with proper technique. Consider your compressor’s capabilities and the type of finish you plan to use when selecting a spray gun.
While conventional guns may require more practice to master, they can be a viable option for those with existing equipment and a good understanding of spraying techniques. Just be prepared for more overspray and the need for a robust ventilation system.
Ultimately, the best spray gun for you will depend on your specific needs and preferences. Research different models, read reviews, and consider trying out different options before making a final decision. Proper maintenance of the spray gun is also essential for optimal performance.
Don’t overlook the importance of nozzle size and air cap selection. These components play a crucial role in atomizing the finish and controlling the spray pattern. Experiment with different sizes to find the best combination for your chosen finish and spraying style.
Setting Up Your Spray Booth for Optimal Results
A well-prepared spray booth is essential for achieving a clean, professional guitar finish. The spray booth provides a controlled environment that minimizes dust, debris, and overspray. This ensures a smooth, even finish and protects your health from harmful fumes.
Without a proper spray booth, you risk contaminating your finish with airborne particles, leading to imperfections and rework. A dedicated spray booth also helps contain the mess and fumes associated with spraying.
Ideally, your spray booth should be located in a well-ventilated area away from potential sources of contamination. A dedicated space, such as a garage or workshop, is preferable. Ensure the booth is properly sealed to prevent dust and debris from entering during spraying.
Sealing any cracks or openings in the walls and ceiling is crucial for preventing dust infiltration. Consider using plastic sheeting or sealant to create a tight seal around the perimeter of the booth.
Install a ventilation system with an exhaust fan to remove overspray and fumes. The fan should be powerful enough to create negative pressure inside the booth, drawing air away from the operator. Use appropriate filters to capture paint particles and prevent them from being released into the environment.
The size of the exhaust fan will depend on the size of your spray booth. Consult with a ventilation specialist to determine the appropriate fan capacity for your specific setup. Regularly replace the filters to maintain optimal airflow and filtration efficiency.
Lighting is also crucial for achieving a high-quality guitar finish. Install bright, even lighting inside the booth to ensure you can see the surface clearly. Proper lighting helps you identify imperfections and apply the finish evenly.
Consider using LED lighting, as it provides bright, consistent illumination while generating minimal heat. Position the lights strategically to eliminate shadows and ensure even coverage across the entire guitar surface. Good lighting is paramount for spotting imperfections.
In addition to the basic setup, consider adding features like a turntable or rotating stand to make it easier to access all sides of the guitar. A dehumidifier can also be helpful in controlling humidity levels, which can affect the finish’s drying time and appearance. Maintaining the correct humidity is important.
Remember to clean your spray booth regularly to remove accumulated overspray and dust. A clean booth is a safe booth and will contribute to a higher quality finish on your guitars. Regular maintenance is key.
Preparing the Finish for Spraying: Thinning and Mixing
Proper preparation of the guitar finish is critical for achieving a smooth, even application. This involves thinning the finish to the correct viscosity and thoroughly mixing it to ensure consistency. Thinning the finish allows it to flow smoothly through the spray gun and atomize properly.
The viscosity of the finish directly affects its flow and atomization characteristics. A finish that is too thick will not atomize properly, resulting in a textured or uneven finish. A finish that is too thin may run or sag.
Always follow the manufacturer’s recommendations for thinning ratios. Use the appropriate thinner for the type of finish you’re using, such as lacquer thinner for lacquer finishes. Adding too much or too little thinner can affect the finish’s appearance and durability.
Using the wrong type of thinner can cause compatibility issues, leading to problems like fisheyes or poor adhesion. Always consult the finish manufacturer’s specifications for the correct thinner to use.
| Finish Type | Recommended Thinner | Thinning Ratio |
|---|---|---|
| Nitrocellulose Lacquer | Lacquer Thinner | 1:1 to 2:1 (Finish:Thinner) |
| Acrylic Lacquer | Acrylic Lacquer Thinner | 1:1 to 1.5:1 (Finish:Thinner) |
| Polyurethane | Polyurethane Thinner | 10-20% by Volume |
| Water-Based Finish | Distilled Water | 5-10% by Volume |
These thinning ratios are guidelines and may need to be adjusted based on your specific spray gun, environmental conditions, and desired finish characteristics. Experimentation and careful observation are key.
After thinning, mix the finish thoroughly using a mixing stick or a mechanical mixer. Ensure the finish is homogenous and free of any lumps or particles. Strain the finish through a fine-mesh filter to remove any contaminants that could clog the spray gun.
A mechanical mixer can help ensure thorough mixing, especially for larger quantities of finish. Strain the finish immediately before pouring it into the spray gun cup to remove any last-minute contaminants. This is a crucial step.
Consider using a viscosity cup to measure the viscosity of the thinned finish. This will help you achieve consistent results and ensure that the finish is properly thinned for optimal spraying. Viscosity cups provide a precise measurement.
Always mix the finish in a clean container to avoid introducing contaminants. Use a container made of a material that is compatible with the finish and thinner. Glass or solvent-resistant plastic containers are generally recommended.
Spraying Techniques: Overlap, Distance, and Speed
Mastering the correct spraying techniques is essential for achieving a flawless guitar finish. This includes understanding overlap, distance, and speed. These factors directly influence the uniformity and smoothness of the finish.
Incorrect spraying techniques can lead to a variety of problems, including orange peel, runs, sags, and uneven coverage. Practicing and refining your technique is crucial for achieving professional results.
Overlap refers to the amount each pass of the spray gun overlaps the previous pass. A 50% overlap is generally recommended for guitar finishing. This ensures even coverage and prevents streaks or light spots.
Visualizing the overlap can be challenging at first. Practice spraying on a piece of cardboard or scrap wood to develop a feel for the correct overlap amount. Consistent overlap is key.
Maintain a consistent distance between the spray gun and the guitar surface. Typically, a distance of 6-8 inches is ideal. Too close can cause runs or drips, while too far can result in a dry, textured finish.
The ideal distance may vary slightly depending on the spray gun, finish, and environmental conditions. Experiment to find the optimal distance for your specific setup. Proper distance prevents runs.
The speed at which you move the spray gun across the surface also affects the finish quality. Move the gun at a steady, consistent pace. Moving too quickly can result in thin coverage, while moving too slowly can cause the finish to build up unevenly.
Practice moving the spray gun at a consistent speed, keeping your wrist and arm relaxed. Avoid jerky or uneven movements. Smooth and steady wins the race.
Consider using a spray pattern that is slightly wider than the area you are spraying. This will help to feather the edges of each pass and create a seamless finish. Feathering the edges is important.
Always start and end your spray passes off the edge of the guitar. This will prevent buildup and ensure a smooth, even finish. Off the edge is the way to go.
Achieving a Glass-Like Finish: Wet Sanding and Buffing
Wet sanding and buffing are crucial steps in achieving a glass-like guitar finish. These processes remove imperfections, level the surface, and create a high-gloss shine. Wet sanding involves using sandpaper with water to smooth out the finish.
Without proper wet sanding and buffing, even a well-sprayed finish will lack the depth and clarity of a professional-quality finish. These steps are essential for bringing out the full potential of the finish.
Start with a higher grit sandpaper, such as 400 grit, to remove any significant imperfections. Gradually work your way up to finer grits, such as 600, 800, 1000, 1200, 1500, and 2000. This progressive sanding refines the surface, preparing it for buffing.
Skipping grits or using too coarse of a sandpaper can create scratches that are difficult to remove. Take your time and work through each grit carefully. Slow and steady wins the race.
Use a sanding block to ensure even pressure and prevent creating uneven spots. Keep the sandpaper and surface wet throughout the process. This helps to remove sanding debris and prevent clogging.
The water acts as a lubricant, reducing friction and preventing the sandpaper from clogging with finish particles. Change the water frequently to keep it clean and free of debris. Clean water is important.
Buffing is the final step in achieving a glass-like finish. Use a buffing wheel with different compounds to polish the surface. Start with a cutting compound to remove fine scratches, followed by a polishing compound to enhance the shine, and finish with a swirl remover to eliminate any remaining imperfections.
Use separate buffing wheels for each compound to avoid cross-contamination. Apply the compounds sparingly and work in small sections. Less is more in this case.
Maintain a consistent pressure and speed when buffing. Avoid applying too much pressure, which can cause the finish to overheat and burn. Consistent pressure is key.
After buffing, clean the surface with a microfiber cloth to remove any remaining compound residue. Inspect the finish carefully for any imperfections and repeat the buffing process if necessary. A clean surface is a happy surface.
Troubleshooting Common Spraying Problems
Even with careful preparation and technique, problems can arise during guitar finish spraying. Recognizing and addressing these issues promptly is crucial for achieving a professional result. Common problems include orange peel, runs, fisheyes, and blushing.
Ignoring these problems can lead to a substandard finish that detracts from the overall appearance and value of the guitar. Early detection and correction are essential.
Orange peel refers to a textured, uneven surface that resembles the skin of an orange. This is often caused by improper atomization, incorrect thinning, or spraying in a cold environment. Adjusting the spray gun settings, thinning the finish properly, and warming the environment can help resolve this issue.
Ensure that the spray gun is properly adjusted and that the air pressure is within the recommended range. Check the thinning ratio and adjust as needed. Warming the finish and the guitar surface can also help improve atomization.
- Runs or drips on the surface
- Fisheyes (small, circular craters)
- Blushing (cloudy or hazy appearance)
- Dry spray (rough, textured finish)
- Pinholes (tiny holes in the finish)
Runs are caused by applying too much finish in one area. Fisheyes are caused by contamination on the surface. Blushing is caused by moisture trapped in the finish. Dry spray is caused by spraying too far away or in a dry environment. Pinholes are caused by air bubbles in the finish.
Addressing these problems requires careful diagnosis and adjustment of your spraying technique. Practice and attention to detail are key to achieving a flawless guitar finish. Don’t be afraid to experiment and learn from your mistakes.
Keep a detailed log of your spraying sessions, including the finish used, thinning ratio, spray gun settings, and environmental conditions. This will help you identify patterns and troubleshoot problems more effectively. A good log is invaluable.
Cleaning and Maintaining Your Spray Gun
Proper cleaning and maintenance of your spray gun are essential for ensuring its longevity and performance. A dirty or poorly maintained spray gun can lead to inconsistent spraying and premature failure. Clean the spray gun immediately after each use to prevent finish buildup and clogging.
Neglecting to clean your spray gun can result in hardened finish particles blocking the nozzle and fluid passages, leading to uneven spray patterns and ultimately requiring costly repairs or replacement.
Disassemble the spray gun according to the manufacturer’s instructions. Use the appropriate solvent to clean all parts, including the nozzle, needle, and fluid passages. Ensure all traces of finish are removed before reassembling the gun.
Use a set of cleaning brushes and pipe cleaners to thoroughly clean the small passages and crevices in the spray gun. Pay particular attention to the nozzle and needle, as these are the most critical components for proper atomization.
Regularly lubricate the moving parts of the spray gun with a suitable lubricant. This helps to prevent wear and ensures smooth operation. Store the spray gun in a clean, dry place to protect it from dust and moisture.
Use a lubricant specifically designed for spray guns to avoid damaging the seals or other components. Store the spray gun in its original case or a dedicated storage container to protect it from dust and physical damage.
Periodically inspect the spray gun for any signs of wear or damage. Replace any worn or damaged parts promptly to maintain optimal performance. With proper care and maintenance, your spray gun will provide years of reliable service.
Pay close attention to the needle tip, nozzle, and air cap, as these are the most vulnerable to wear and damage. Replace these parts as needed to maintain consistent spray patterns and atomization. A well-maintained gun is a happy gun.
Understanding Different Types of Guitar Finishes
Choosing the right type of guitar finish is crucial for achieving the desired look, feel, and protection. Different finishes offer varying levels of durability, gloss, and ease of application. Common types of guitar finishes include lacquer, polyurethane, and water-based finishes.
The choice of finish also impacts the tonal characteristics of the instrument, with some finishes believed to dampen the sound more than others. Consider the pros and cons of each type before making a decision.
Nitrocellulose lacquer is a classic choice for guitar finishing, known for its ability to enhance the instrument’s tone and develop a beautiful patina over time. It’s relatively easy to repair, but it’s also less durable than other finishes and requires careful handling. Spraying lacquer requires good ventilation.
The aging process of nitrocellulose lacquer contributes to its unique character, with the finish becoming more brittle and developing fine cracks over time. This “checking” is often considered a desirable aesthetic feature by vintage guitar enthusiasts.
Polyurethane finishes are highly durable and resistant to scratches, dents, and chemicals. They provide excellent protection for the guitar but can be more difficult to repair than lacquer finishes. Polyurethane finishes also tend to be thicker, which some believe can dampen the instrument’s tone.
Polyurethane finishes are available in a variety of gloss levels, from matte to high-gloss. They are a good choice for guitars that will be subjected to heavy use or harsh environmental conditions.
Water-based finishes are an environmentally friendly option, offering low VOC (volatile organic compounds) emissions and easy cleanup. They are becoming increasingly popular among luthiers due to their improved durability and ease of use. Water-based finishes can provide a clear, hard finish that showcases the wood’s natural beauty.
Water-based finishes are also less flammable than solvent-based finishes, making them a safer option for home workshops. They are a good choice for luthiers who are concerned about the environmental impact of their work.
Consider experimenting with different types of finishes to find the one that best suits your needs and preferences. Each finish has its own unique characteristics and challenges. Experimentation is key.
Research the specific properties of each finish before using it, including its drying time, hardness, and resistance to chemicals. This will help you achieve the best possible results. Knowledge is power.
Safety Precautions When Spraying Guitar Finishes
Spraying guitar finishes involves working with potentially hazardous materials. Taking proper safety precautions is essential to protect your health and prevent accidents. Always wear appropriate personal protective equipment (PPE) when spraying finishes.
Ignoring safety precautions can lead to serious health problems, including respiratory issues, skin irritation, and even long-term neurological damage. Safety should always be your top priority.
This includes a respirator to protect your lungs from harmful fumes, safety glasses to protect your eyes, and gloves to protect your skin. Ensure your spray booth is properly ventilated to remove overspray and fumes. Work in a well-ventilated area.
Choose a respirator that is specifically designed for use with organic solvents and paint fumes. Ensure that the respirator fits properly and that the filters are replaced regularly. A properly fitted respirator is essential.
Avoid spraying finishes near open flames or sources of ignition. Many guitar finishes are flammable and can pose a fire hazard. Store all finishing materials in a safe, secure location away from heat and direct sunlight.
Keep a fire extinguisher readily available in your spray booth. Never smoke or use open flames near finishing materials. Fire safety is paramount.
Always read and follow the manufacturer’s instructions for the specific finish you’re using. Be aware of the potential health hazards associated with each finish and take appropriate precautions. By following these safety guidelines, you can minimize the risks associated with spraying guitar finishes and protect your well-being.
Dispose of used finishing materials and solvents properly according to local regulations. Never pour them down the drain or into the environment. Proper disposal is essential for environmental protection.
Consider taking a safety course or consulting with a safety professional to learn more about the hazards associated with spraying guitar finishes. Education is key to preventing accidents. Be informed and be safe.
Conclusion
Mastering guitar finish spraying is a skill that requires patience, practice, and attention to detail. By understanding the tools, techniques, and safety precautions involved, you can achieve professional-quality results. The right spray gun settings are critical.
The journey to mastering guitar finishing may seem daunting at first, but with dedication and perseverance, you can achieve stunning results that will enhance the beauty and value of your instruments. Keep practicing.
Experiment with different finishes, spraying techniques, and equipment to find what works best for you. Don’t be discouraged by mistakes, as they are a valuable part of the learning process. With dedication and perseverance, you can elevate your guitar finishing skills and create instruments that are both beautiful and durable.
Remember to always prioritize safety and follow the manufacturer’s instructions for the finishes and equipment you are using. With the right knowledge and skills, you can create guitars that are both a joy to play and a work of art. Good luck!