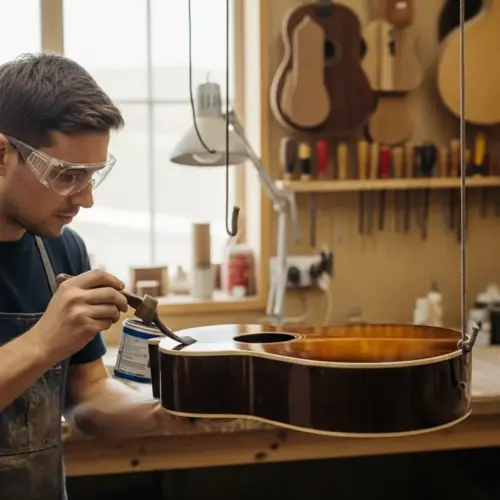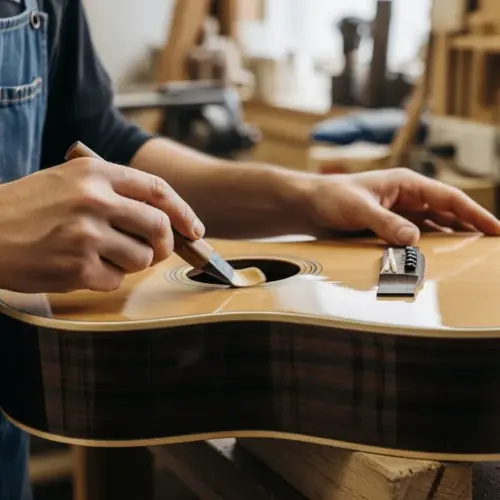

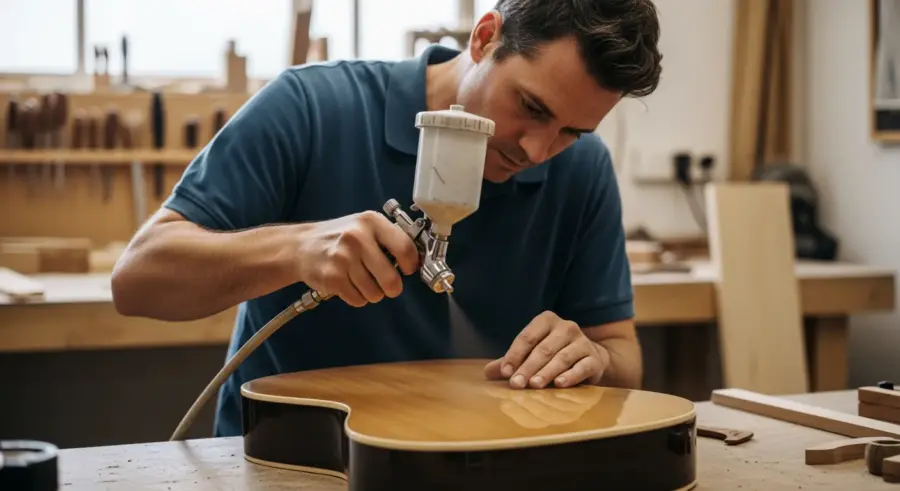
Achieving a flawless finish on a guitar is an art form, and one of the most critical factors in this process is understanding and managing guitar finish viscosity. The consistency of your finish, or its resistance to flow, directly impacts how it applies, levels, and ultimately cures. Mastering guitar finish viscosity is the key to achieving a professional-looking, durable, and beautiful finish on your instrument.
From the initial spray coats to the final polishing, the right viscosity ensures that the finish flows smoothly, avoids runs or orange peel, and provides adequate protection for the wood. This article will explore the concept of guitar finish viscosity, its measurement, adjustment, and common issues, providing luthiers with the knowledge to achieve the perfect finish every time.
Whether you’re using lacquer, varnish, or another type of finish, understanding how to control viscosity is essential for achieving professional results. Let’s examine the world of finish viscosity and how it relates to getting the best possible results for your guitar finishing projects.
Understanding Viscosity: What It Means for Guitar Finishes
Viscosity, in simple terms, is a measure of a fluid’s resistance to flow. Think of it like this: water has low viscosity because it flows easily, while honey has high viscosity because it’s thick and flows slowly. When it comes to guitar finishes, the finish viscosity determines how easily the material spreads and levels on the wood surface.
A finish with the correct guitar finish viscosity will flow out smoothly, creating a level surface without leaving brush marks or spray texture. Too high a viscosity can result in orange peel, runs, or uneven coverage, while too low a viscosity can lead to thin, inadequate protection and potential drips.
Finish viscosity is affected by several factors, including temperature, solvent content, and the type of resin used in the finish. Temperature affects the viscosity of most liquids, with warmer temperatures generally reducing viscosity and cooler temperatures increasing it. The concentration of solvents in the finish also plays a crucial role, as solvents thin the finish, lowering its viscosity and making it easier to apply.
Different types of finishes, such as lacquer, varnish, and polyurethane, have inherently different viscosities due to their unique chemical compositions. Understanding these differences and how they impact the application process is crucial for achieving the desired results.
Measuring Viscosity: Tools and Techniques
Accurately measuring finish viscosity is essential for ensuring consistent results in your guitar finishing projects. While there are several methods for measuring viscosity, some are more practical and accessible for luthiers than others. One common method is using a viscosity cup, also known as a Ford cup or Zahn cup.

These cups have a small hole at the bottom, and the viscosity is determined by measuring the time it takes for a specific volume of liquid to flow through the hole. To use a viscosity cup, simply dip the cup into the finish, lift it out, and start a timer as soon as the top of the cup clears the surface of the liquid.
Stop the timer when the stream of liquid breaks, and record the time in seconds. Each cup size corresponds to a specific viscosity range, so consult the manufacturer’s instructions to determine the appropriate cup for your finish. This method provides a quick and relatively accurate measure of finish viscosity.
Another method is using a viscometer, which measures the resistance of a fluid to flow using a rotating spindle. Viscometers are more precise than viscosity cups but are also more expensive and require more setup. For most guitar finishing applications, a viscosity cup is sufficient for monitoring and adjusting finish viscosity.
Adjusting Viscosity: Thinners and Additives
Once you’ve measured the viscosity of your guitar finish, you may need to adjust it to achieve the ideal consistency for your application method. The most common way to adjust finish viscosity is by using thinners, which are solvents that reduce the finish’s thickness and make it flow more easily. Different types of finishes require different types of thinners, so it’s crucial to use the correct thinner for your specific finish.
For example, lacquer requires lacquer thinner, while varnish requires mineral spirits or turpentine. Adding too much thinner can result in a finish that is too thin and prone to runs, while not adding enough can result in a finish that is too thick and difficult to apply smoothly.
| Finish Type | Recommended Thinner | Purpose |
|---|---|---|
| Lacquer | Lacquer Thinner | Reduces viscosity, improves flow |
| Varnish | Mineral Spirits, Turpentine | Adjusts consistency, aids leveling |
| Polyurethane | Polyurethane Reducer | Enhances sprayability, controls drying time |
| Shellac | Denatured Alcohol | Thins shellac, promotes smooth application |
In addition to thinners, there are also additives that can be used to modify the properties of guitar finishes. These additives can improve flow, leveling, and gloss, as well as provide UV protection and increase durability. However, it’s important to use additives sparingly and follow the manufacturer’s instructions carefully, as too much additive can negatively impact the finish’s performance.
Viscosity and Spraying: Finding the Sweet Spot
When it comes to spraying guitar finishes, achieving the correct viscosity is crucial for achieving a smooth, even coat. A finish that is too thick will result in orange peel, a textured surface that resembles the skin of an orange. This occurs because the finish doesn’t flow out and level properly before it dries.
On the other hand, a finish that is too thin will run or sag, creating drips and an uneven surface. The ideal guitar finish viscosity for spraying will depend on the type of finish, the spray gun being used, and the environmental conditions.
As a general rule, lacquer and other solvent-based finishes should be thinned to a viscosity that allows them to atomize easily and flow out smoothly without running. Experimenting with different thinning ratios and spray gun settings is essential for finding the sweet spot for your particular setup. Start by following the manufacturer’s recommendations for thinning, and then adjust as needed based on your results.
It’s also important to consider the temperature and humidity when spraying, as these factors can affect the viscosity of the finish. Warmer temperatures will generally reduce viscosity, while cooler temperatures will increase it. High humidity can also cause finishes to dry more slowly, increasing the risk of runs and sags.
Troubleshooting Viscosity-Related Problems
Even with careful attention to viscosity, problems can still arise during the guitar finishing process. One common issue is orange peel, which, as mentioned earlier, is caused by a finish that is too thick or not atomizing properly. To fix orange peel, try thinning the finish slightly and adjusting the spray gun settings to increase atomization.
Another common problem is runs or sags, which are caused by a finish that is too thin or applied too heavily. To prevent runs, apply thinner coats and allow each coat to dry properly before applying the next. If runs do occur, you can try sanding them out after the finish has fully cured.
- Orange peel: Thin the finish, adjust spray gun
- Runs/sags: Apply thinner coats, allow drying
- Blushing: Use a blush eraser, control humidity
- Pinholes: Degas finish, apply thin coats
- Inconsistent gloss: Proper surface prep, even application
Blushing, a cloudy or hazy appearance in the finish, can be caused by high humidity or applying the finish too thickly. To prevent blushing, try using a blush eraser, which is a solvent blend that helps to draw moisture out of the finish. Pinholes, small holes in the finish, can be caused by air bubbles trapped in the finish or applying the finish over a contaminated surface.
To avoid pinholes, degas the finish before spraying by allowing it to sit for a while, and apply thin, even coats. If you encounter any of these problems, don’t panic. With a little troubleshooting and adjustment, you can usually correct the issue and achieve a beautiful, professional-looking finish.
Viscosity and Different Finish Types
Different types of guitar finishes have inherently different viscosities and require different techniques for achieving optimal results. Lacquer, a popular choice for guitars, is known for its fast drying time and ease of application. Lacquer typically has a lower viscosity than other finishes, which allows it to atomize easily and flow out smoothly.
However, lacquer is also prone to runs and sags if applied too heavily, so it’s important to apply thin, even coats. Varnish, another common finish, is known for its durability and warm tone. Varnish typically has a higher viscosity than lacquer, which makes it more resistant to runs but also more difficult to atomize and level.
Polyurethane finishes are known for their exceptional durability and resistance to chemicals and abrasion. Polyurethane finishes can have a wide range of viscosities, depending on the specific product. Some polyurethane finishes are designed to be sprayed, while others are designed to be brushed or rolled.
When working with polyurethane, it’s essential to follow the manufacturer’s recommendations for thinning and application to achieve the best results. Shellac is a natural resin finish that has been used for centuries. Shellac has a relatively low viscosity and is easy to apply, but it’s also soft and not very durable.
The Impact of Temperature and Humidity
Temperature and humidity play significant roles in the viscosity and drying characteristics of guitar finishes. Higher temperatures generally decrease finish viscosity, making it flow more easily. This can be advantageous in some situations, but it can also increase the risk of runs and sags.
Lower temperatures, on the other hand, increase guitar finish viscosity, making it more difficult to atomize and level. High humidity can slow down the drying process and cause blushing, a cloudy or hazy appearance in the finish. This is because the moisture in the air can become trapped in the finish as it dries.
Low humidity can cause finishes to dry too quickly, leading to orange peel and other surface defects. To compensate for these effects, it’s important to adjust the viscosity of the finish and the spray gun settings based on the temperature and humidity. In warm, humid conditions, you may need to thin the finish slightly and reduce the air pressure to prevent runs and blushing.
In cool, dry conditions, you may need to add a retarder to slow down the drying process and improve leveling. Monitoring the temperature and humidity in your finishing area and making adjustments as needed is essential for achieving consistent, high-quality results.
Achieving a Professional Finish: Best Practices
Achieving a professional-looking finish on a guitar requires more than just understanding viscosity. Proper surface preparation is essential for ensuring that the finish adheres properly and looks its best. Before applying any finish, the wood surface should be sanded smooth and free of any dust, dirt, or contaminants.
Using a tack cloth to remove any remaining dust is highly recommended. Applying a sealer or primer coat can also help to improve adhesion and create a more uniform surface for the finish. When spraying, it’s important to use a consistent technique and overlap each pass by about 50% to ensure even coverage.
Applying multiple thin coats is better than applying one thick coat, as this reduces the risk of runs, sags, and other defects. Allowing each coat to dry properly before applying the next is also crucial for achieving a smooth, durable finish. After the final coat has dried, the finish can be leveled and polished to remove any imperfections and create a high-gloss sheen.
Using a rubbing compound and polishing compound, followed by a wax, can help to achieve a professional-looking, durable finish that will protect your guitar for years to come. Taking the time to follow these best practices will greatly improve the quality of your guitar finishes.
The Role of Finish Viscosity in Leveling
Leveling is the process by which a finish flows out and creates a smooth, even surface. Finish viscosity plays a critical role in this process. A finish with the correct viscosity will flow out and level properly, filling in any minor imperfections in the wood surface and creating a smooth, glass-like finish.
A finish that is too thick will not flow out properly, resulting in orange peel or other surface defects. A finish that is too thin may flow out too quickly, leading to runs or sags. The ideal viscosity for leveling will depend on the type of finish, the application method, and the environmental conditions.
Some finishes, such as lacquer, are known for their excellent leveling properties, while others, such as varnish, require more effort to achieve a smooth, even surface. Additives can also be used to improve the leveling properties of a finish.
For example, flow enhancers can be added to a finish to reduce its surface tension and improve its ability to flow out and level. Retarders can also be used to slow down the drying process, giving the finish more time to level before it sets up. Understanding how viscosity affects leveling and how to adjust it accordingly is essential for achieving a professional-looking finish on your guitar.
Conclusion
Mastering guitar finish viscosity is a critical skill for any luthier looking to achieve professional-quality results. By understanding what viscosity is, how to measure it, and how to adjust it, you can ensure that your finishes apply smoothly, level properly, and provide durable protection for your instruments. Remember to consider the type of finish you’re using, the application method, and the environmental conditions when adjusting viscosity.
With practice and experimentation, you’ll develop a feel for the ideal viscosity for different situations and be able to troubleshoot any viscosity-related problems that may arise. So, grab your viscosity cup, experiment with different thinning ratios, and start creating beautiful, durable finishes that will make your guitars shine.